Healing Geometry | ||
| ||
- Select the surfaces to be healed.
The selected elements are added to the Elements To Heal list.
Note: Right-clicking an element in the list activates a context menu. The contextual commands are carried out for the right-clicked element and selected (highlighted) elements in the list. - In the Merging distance box, specify the maximum distance up to which gaps shall be repaired.
- Optional: In the Distance objective box, specify the minimum distance from which gaps shall not be repaired.
- In the Continuity list box, select Tangent.
- Click the Freeze Plane elements and Freeze Canonic elements check boxes to exclude planar and canonic elements from the healing operation.
-
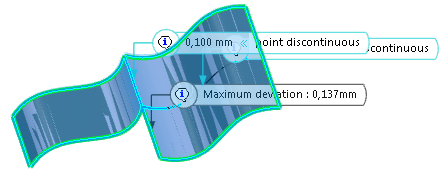
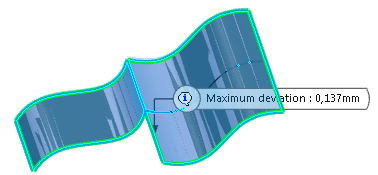
Click Preview to visualize the result and the maximum
deviation between the input surfaces.
Important: The value is displayed only at the edge or the face concerned but not at the exact maximum deviation location. -
Click the Freeze
tab.
- Select Freeze elements to exclude elements from the healing operation.
- Select Unfreeze elements to include elements in the healing operation.
- In the elements to freeze or unfreeze list, click "No selection" and then select the elements to be frozen or unfrozen.
-
Click the Sharpness
tab.
- Select one or more sharp edges to be retained.
- In the Sharpness angle box, define the maximum value up to which an angle is considered as sharp.
-
Click the Visualization
tab.
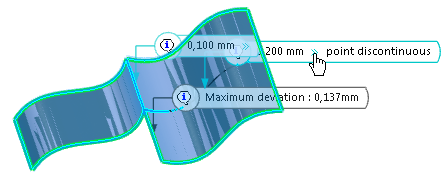
The Visualization tab enables you to better understand the discontinuities in the model and the results of the healing action.
You can select:
- All
- Displays corrected and not corrected discontinuity.

- Not corrected
- Displays only not corrected discontinuity.

- None
- Hides the callouts.
- Display information interactively
- Expands the callout when moving the pointer to it.

- Display information sequentially
- Displays only one callout. Use Previous and Next options to toggle the callouts.
-
Click OK.
| See Also |
| More help on this topic |