Creating a Sew Surface | |||
| |||
-
From the Volume section of the action bar, click Sew
Surface
 .
.
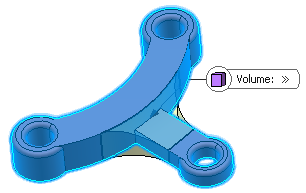
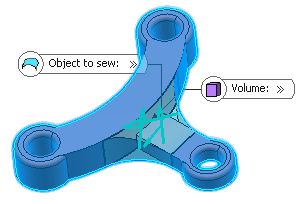
- In the Volume box, select the sewing volume.

- In the Object to sew box, select the object to sew onto the volume.

Arrows appear indicating the side where material will be added or kept. Click an arrow to reverse the given direction. The arrows must point towards the volume.
-
In the Deviation box, choose the deviation tolerance
computation mode.
Option Description None No tolerance is considered for the feature computation. Automatic The result is computed with a default tolerance value which depends on the scale selected in the Design Range list box on the Design Limits area in Me  > Preferences > Common Preferences
> Parameters, Measures, and Units > Units:
 - Small range: 0.001
- Normal range: 0.1
- Large range: 10
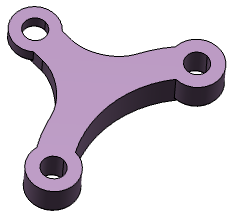
Manual In the Max Deviation text box, you can specify a user-defined tolerance. - Select the Simplify geometry check box. If in the resulting volume there are connected faces defined on the same geometric support (faces separated by smooth edges), these faces will be merged into one single face.
- Click OK.The surface is sewn onto the volume. Notice that the bottom of the volume is made of one single face.

This element (identified as SewSurface.xxx) is added to the tree.
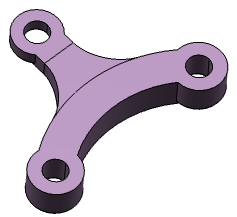
- Double-click the sew surface in the tree to edit it and clear the Simplify geometry check box.
- Click OK.
The bottom of the volume is made of three connected faces. The smooth edges resulting from the sewing appear because no topological simplification has been performed.

For more information, see 3D Modeling: 3D Modeling Core: Part Design User's Guide: Sewing Surfaces.