-
From the Analysis section of the action bar, click Surface Checker
 . .
-
Select surfaces to analyse.
-
Define topology regions in the Search Distance list.
All surfaces with a distance from each other which is smaller than specified tolerance are searched for. These surfaces are neighbored building up a topology region. All checks are calculated within these regions.
- Select G0, G1, and G2 and enter Min and Max values to check the surface edges within the topology regions for position, normal and curvature continuity.
The minimum and maximum values are shown at the geometry. 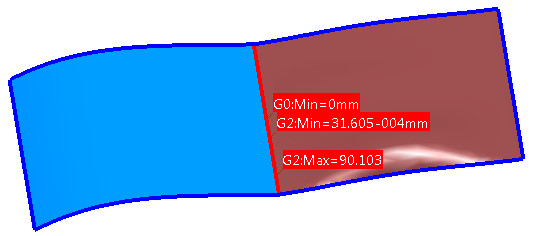 -
Select
 and enter Min and Max values to mark all T-connections in surface clusters where the misalignment between the corner points lies within the tolerance range specified. and enter Min and Max values to mark all T-connections in surface clusters where the misalignment between the corner points lies within the tolerance range specified.
The regions where a misalignment is found are displayed as blue spheres in the 3D and labeled with the associated radius. 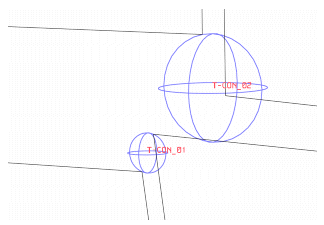 Note:
Note that you should specify values that are considerably below the dimensions of the surfaces to be checked. If edge lengths of checked surfaces are lying within the tolerance range, these edges are output as T-connection. This may be an undesirable result.
- Optional:
Switch to the Geometry
tab for geometrical checks to find mini or duplicate elements for example.
Note:
When you are working with display sets, be aware that in case of Duplicate Elements, the display set contains only the minor detected entity for each double defect. This means, if you check entities for duplicate cleanup, you will only need to delete the entities moved to the display set.
- Optional:
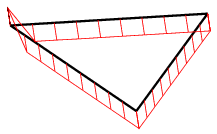
The Normal Turn Down option is used to find irregularities of the normals, for example in the degenerated edge of a triangular patch.
|
 .
.

 and enter Min and Max values to mark all T-connections in surface clusters where the misalignment between the corner points lies within the tolerance range specified.
The regions where a misalignment is found are displayed as blue spheres in the 3D and labeled with the associated radius.
 Note: Note that you should specify values that are considerably below the dimensions of the surfaces to be checked. If edge lengths of checked surfaces are lying within the tolerance range, these edges are output as T-connection. This may be an undesirable result.