Sculpting with Control Points | |||
| |||
-
To activate the controls modification and subobject selection mode, do one of the following:
- In the Sculpt panel, click Activate Controls
 and Control Points
 if not yet selected.
 - In the work area, press Alt + click and select Controls
in the mouse menu.
- In the Sculpt panel, click Activate Controls
-
Select one or more control points on a surface.
The robot appears on the first selected control point and you can modify the control points using the robot or mouse buttons.
- Make sure that Control Rows Filter
 is selected.
 - Click onto a control point row between two control points.The control point row is selected and the robot appears on the nearest control point. Moving it modifies the control point row.
Special Case
- Create a square patch.
- Select the four corner points.
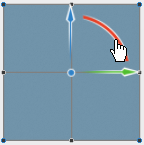
- Middle-click on the robot's origin and move it onto the center control point without modifying the control points.
The robot is moved without modifying the control points. The control points remain selected.
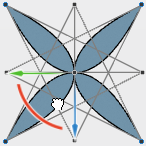
- In the Sculpt panel, click More in the Transform section and Step mode in the Increments area.
- Rotate the robot.
The robot is rotated in 45deg steps and moves the control points keeping their distance ratio to each other.