Repairing KO Faces | ||
| ||
-
Import the file.
- The conversion of the file is progressive: You can visualize the process through the progress bar.
- Optionally, a message appears.
-
Click OK to continue.
- All the faces reported as KO are put in the Geometrical Set GeometryFailure.
- In this Geometrical Set, for each KO face, one FaceKO.xx Geometrical Set is created in the NoShow. It contains its geometric elementsof the face.
-
Recall FaceKO#BND_SRF1 from the NoShow and expand it if
necessary.
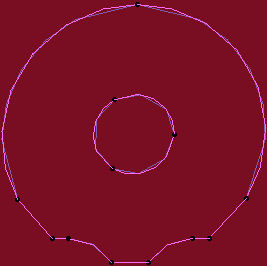
It contains the support surface and boundary curves corresponding to the face.
The reason of the failure is that the inner boundary is described before the outer boundary, in contradiction with the standard.

-
Go to Generative Shape Design.
-
From the Transform section, click
Join
 .
.
- Select the curves of the outer boundary.
- Click OK.
A Join.1 is created under FaceKO.1. -
From the Transform section, click
Join
-
Repeat with the curves of the inner boundary.
A Join.2 is created under FaceKO.1.
-
Click Split
 .
.
- Select the surface and Join.1.
- Keep the inside of the surface.
- Click OK.
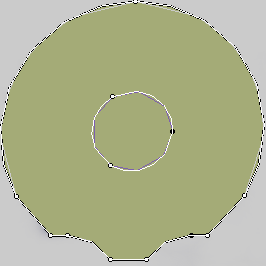
- The surface is split by the outer boundary.
- Split.1 is created under
FaceKO.1.

-
Repeat this step with the inner boundary.
- Optional:
Before splitting the surface, as no associativity is needed, click
 to switch to Create Datum mode.
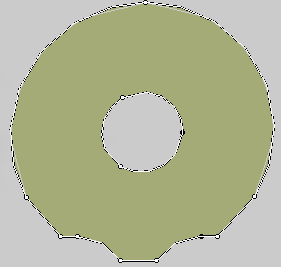
Split.2 is created, corresponding to the repaired face.
- Optional:
Before splitting the surface, as no associativity is needed, click
- Optional: Move the result surface Split.2 to another Geometrical Set.
-
Delete the FaceKO#BND_SRF1 Geometrical Set.
All these elements are however present within the No Show space.
-
Another possible cause of failure is that the splitting operation has kept the
wrong side of the boundary. In that case:
- Click Fill
 (in datum
mode) to recreate the correct face.
 - Or Extract the surface boundary and untrim the surface, then split it.
A Surface.xx is created. - Click Fill