-
From the Shape Sculpt section of the action bar, click Modification
 . .
- Click
Robot Definition
 . . - From the Tools Palette, click one of the following:
| Option | Description |
|---|
 Robot
Definition Robot
Definition | Modifies the origin and orientation of the Robot, exits the Robot definition, and returns to the previous
function. |
|---|

Current
Axis |
Defines the position of the Robot along the axis system that is defined as the
current axis. |

Automatic
Robot |
Defines the position of the Robot on the selected elements. |
 Reset
Robot Reset
Robot | Resets the Robot orientation to the model axis. |
|---|
 Axes
Permutation Axes
Permutation | Switches the main plane between one of the three Robot axes. |
|---|
The Robot is defined using the mean plane
computation of the selected elements.
- Successively, select three vertices to define the following elements:
- Robot's origin
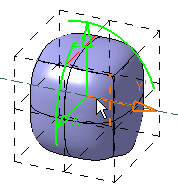
- Z axis
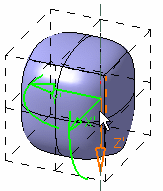
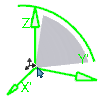
- X and Y axes (drag an arc of circle to move the Robot)
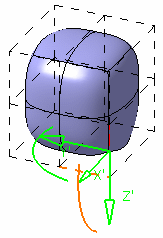
- Click the center of the Robot to activate the Robot Definition mode and do either of the following:
- Press Ctrl at once to reset the Robot.
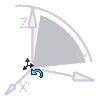
- Drag the center of the Robot to place it onto an element
(face, edge, or vertex) of the mesh.
Note:
This capability is available with the following commands: Translation, Rotation, Affinity, and Alignment.
|