Creating a Reference Plane Grid | ||
| ||
Context: When creating a structural grid from a solid or surface body, the grid includes:
- The edges of the solid or surface body.
- The edges formed by the intersection on the faces of the solid or surface body and the planes formed by the extrusions of sketch lines.
When creating a structural grid from axis systems, the grid is displayed on the YZ plane of the selected axis system.
-
Before you begin, choose one of the following:
- Create the reference plane and sketch, that is:
- From the Wireframe and Surface section of the action bar, use Plane
 or
Axis System
 to create a few
planes or axis systems. For example, you can create four planes offset from the
Front plane.
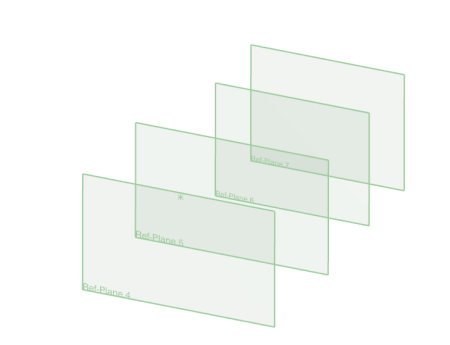 Note: Your reference planes or the YZ planes of your axis systems need not be parallel to the sketch plane or to each other.
 - Sketch the grid that is to serve as the basis for the reference plane grid.
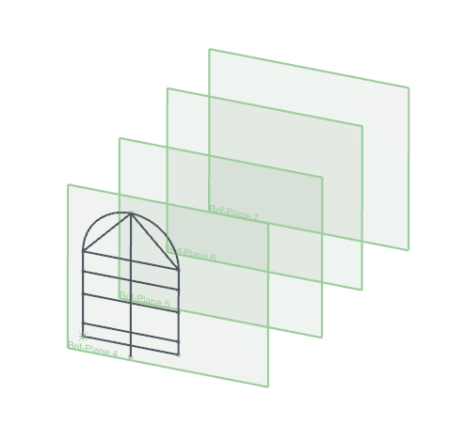
- From the Wireframe and Surface section of the action bar, use Plane
- Create a solid body.
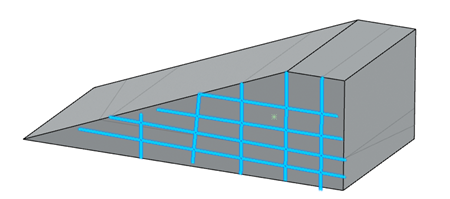 Note: Optionally, you can sketch gridlines on part of the solid body.
 - Create a surface body.
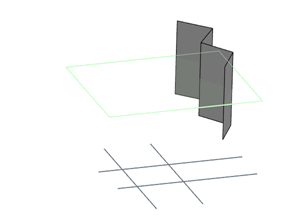 Note: Optionally, you can include gridlines and reference planes.
- Create the reference plane and sketch, that is:
- In the tree activate the shell and core of the building, or a story product.
Tip: To create an independent reference plane grid, activate a solid body or surface body that is not part of the building. You can place structural members like columns, beams, braces, and bar joists on independent reference plane grids. -
From the
Building section, click Reference Plane Grid
 .
.
-
Select the sketch for the basis of the reference plane grid as follows:
- In the Reference Planes Grid dialog box, click Select Profile
 .
. - From the 3D area, click the sketch or lines that are to serve as the basis for the reference plane grid.
- In the Reference Planes Grid dialog box, click Select Profile
- Select the reference planes as follows:
- In the dialog box, click Select Reference Plane.
-
In the tree, click each reference plane or each axis system on
which you want the reference plane grid to display.
In the 3D area, a preview of the reference plane grid on each selected reference plane is displayed. If you select an axis system, a preview of the reference plane grid on the YZ plane of each selected axis system is displayed.
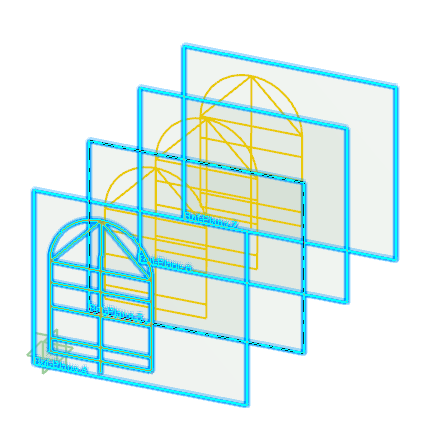
- To use a solid or surface body as input, in the dialog box, click the Input Bodies box. In the tree, select the solid or surface bodies that are to serve as the basis for the reference plane grid.
-
To transform the grid, perform the following steps:
-
Expand Scale and scale the grid.
Option Description Using a law - Select the Use law for scale check box.
- From the tree, select a law.
The system uses the law as a reference to scale the grid.
Tip: Use a law to scale the grid nonlinearly. Manually - In Scale start, enter the scale of the grid at the bottom of the starting story.
- In Scale end, enter the scale of the top of the
uppermost story of the grid.Note: If you have entered a Roof Thickness value, the Scale end value determines the scale of the virtual roof.
-
Expand Twist and twist the grid.
Option Description Using a law - Select the Use law for twist angle check box.
- From the tree, select a law.
The system uses the law to obtain twist angle values at each output grid plane.
Tip: Use a law to twist the grid nonlinearly. Manually - In Twist start angle, enter the angle of the grid at the starting story.
- In Twist end angle, enter the angle of the
uppermost story of the grid.Note: If you have entered a Roof Thickness value, the Twist end angle determines the angle at the virtual roof.
- Click the Select Spine box.
-
From the 3D area, select a spine.
By default, the system uses the global z axis as the spine. While transforming the grid, the system scales and twists about the points where the spine intersects with the output grid planes.
Important: The spine must intersect all output grid planes. -
Select one of the following:
Option Description Project to output planes Projects the grid to angled planes without rotation. The system aligns column points on angled planes to those on the top-story plane. Tip: Use this option while creating angled roofs. Rotate to output planes Projects the grid to angled planes with rotation. The system rotates the grid to match the inclination of angled planes. Tip: Use this option while creating sweep geometry like tunnels or bridges.
-
Expand Scale and scale the grid.
-
Click
 .
.
The reference plane grid appears on all the selected reference
planes. 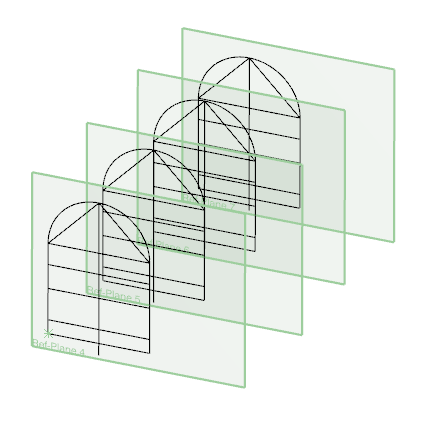
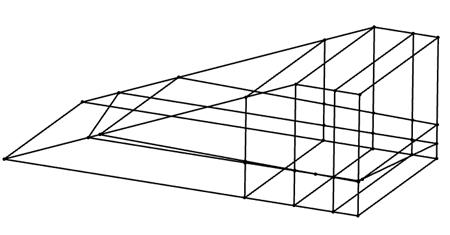
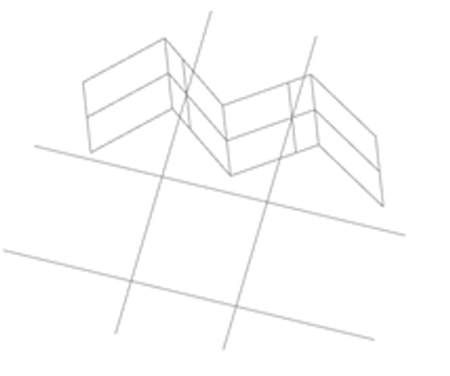
In
the tree, the system displays Reference Plane
Grid in Shell and Core in the Structure
Grids node.