Creating a Datum Feature

You can create a datum feature annotation.


Before you begin: Open a drawing representation.
See Also
Modifying a Datum Feature
Working with Tolerances
  1. From the Annotation section of the action bar, click Datum Feature .
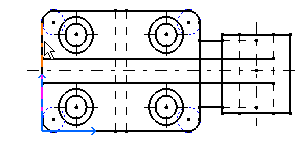
  2. Select the attachment point of the datum feature.


  3. Select a point to position the anchor point of the datum feature.

    An immersive dialog box appears with the value A pre-selected in the Datum Feature box and simultaneously previewed on the layout.

    Note: If the value selected in the Datum Feature box changes, it is instantly reflected in the datum feature.

    Important:

    During datum feature creation, all the existing datum features of a drawing or a layout (except the features in detail sheets) are parsed to retrieve the highest letter of all the letters used.

    In case of detail sheet, only parent of datum feature (main view of detail sheet or 2D component) is parsed to retrieve the highest letter of all the letters used. The value of the new datum feature is initialized to value of the next letter.

    For example, if a drawing contains datum features such as, A, B, D, then the next datum feature is initialized to E.

  4. In the immersive dialog box, edit the value.


  5. Click or click in the sheet to validate the inputs.

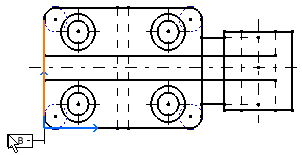
    The datum feature is created, and an extension line is automatically created on the datum feature.