-
Double-click the dimension that you want to turn into
a driving dimension.
-
In the Dimension value dialog box, select the Drive geometry check box.
This dimension drives the geometry.
-
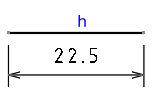
Type a value to modify
the dimension and click OK.
The geometry is updated according to the new driving
dimension value.
-
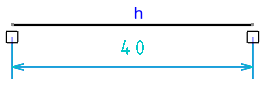
Click anywhere in the sheet to create the dimension.
The color defined for the Dimensions driving 2D
geometry in the Elements' Analysis dialog box
is assigned to the driving dimension.
Notes:
- Once the Drive geometry check box is selected, you can access a context menu and configure the values properties according to your needs. For more information about the available options, see the 3DEXPERIENCE
Native Apps.
- When a driving dimension is created between two parallel lines, then their parallelism is constrained. Therefore, if a geometrical parallelism constraint was previously applied to them, this constraint is destroyed. This avoids an overconstrained situation.
- Dimensions created along a reference direction cannot be driving dimensions, that is they cannot drive the geometry.
|