Comparing 3D Objects | ||||||
|
| |||||
-
Optional: Select the first object for comparison.

-
From the
Review section of the
action bar,
click
3D Compare
 .
If you have not selected any object, the root or existing product is considered as the first object.
 -
Do any one of the following actions to select the second object.
- Select an object in the tree. The object is highlighted in
3D area.

- Search and select the object.
Warning: The product must not be loaded under the Navigation Experience node in the tree. If you have selected a physical product as the first object, it's revisions are displayed in the search results by default.
You can also search other objects as follows:
- In the
top bar,
in the search box, type the required search term and press
Enter.
The search results appear.
- Select the required object from the search results.
- In the
top bar,
in the search box, type the required search term and press
Enter.
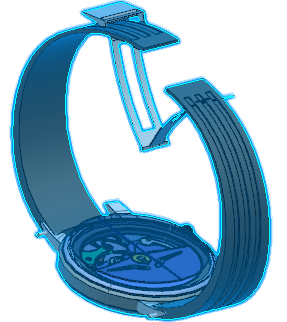
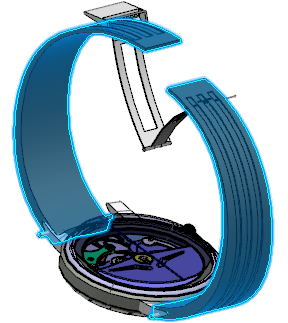
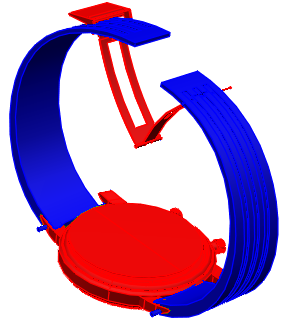
The comparison result appears in the 3D area. In addition, Compare.x panel appears. It displays the names of the old and new objects. The old and new objects appear in separate panels in the work area.
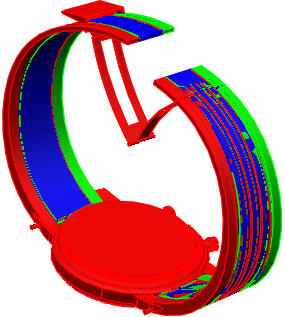
Notes:- Surfaces of the parts common to both objects appear in blue or selected color.
- Surfaces of the parts present in the second object but not the first appear in green or selected color.
- Surfaces of the parts present in the first object but not the second appear in red or selected color.
- The comparison results are displayed with respect to the
absolute axis system of the first object and the local axis system of the
second object.
Tip: Select both the objects before clicking 3D Compare  to display the
results with respect to the local axis systems of the selected objects.
- Unloaded objects are not displayed in the comparison result.
- From the
View section of the
action bar,
you can select
Wireframe (NHR)
 to view objects
in wireframe. When objects appear in wireframe, you can view the comparison
results for internal parts.
- Select an object in the tree. The object is highlighted in
3D area.
- Optional:
Clear the
Use Local Axis Systems check box to display
the comparison results with respect to the absolute axis systems of the
selected objects.

Important: To make the Use Local Axis Systems check box available, you must select both the objects before clicking 3D Compare  .
.
-
Optional: Modify the predefined colors.
- Click a color and modify it as required.
- Click
Recompute Compare
 .
.
The redefined color is applied to the objects.
Note: Modifications in markers, measures and slides are updated using Recompute Compare .
.
- Optional:
Move the objects using the
Robot
to calibrate the comparison results.
Important: To calibrate the results by moving the objects using the Robot, you must select both the objects before clicking 3D Compare. -
Click
Recompute Compare

-
Click
OK and Exit Compare
 .
A node identified as Compare.x appears in the notes under the review node in the tree. It contains the comparison result.
 - Optional:
Double-click Compare.x to display the comparison result.
Note: You can add slides, annotations and measures on the comparison results.
Warning: A mask (  ) appears on:
- The slide's thumbnail and the slide feature in the tree, when an overloaded object in the slide is unavailable in the session.
- The section and compare features in the tree, when any of the pointed objects is unavailable in the session.
An object is not available if:
- The concerned object is unloaded.
- The concerned object is deleted from the product context.
- The pointed object is replaced.
The mask disappears if the object is reloaded or if the links are fixed.