-
From the Display section of the action bar,
click Clipping Box
 .
.
-
Position the cursor at one corner of the clipping box you want to define, click and drag the cursor to the opposite corner, and click to define the clipping box.
If you are in the context of one of the mesh checker tools, click
Clipping Box
 before selecting
Autofocus in the mesh checker dialog box.
The 3D view is reduced to the area contained in the clipping box, and the Define Box tool appears to let you adjust the size and the position of the box.
- To modify the clipping box dimensions:
- Click Define Box
 .
.The clipping box appears.
- Use the sliders to adjust the size and the position of the clipping box.
- To deactivate the manipulation mode, click Define Box
 again.
- To restore the default view, close the Define Box tool.
Example
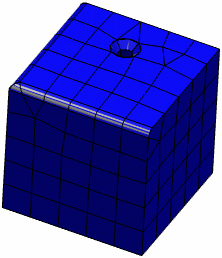
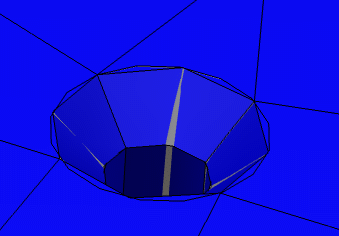
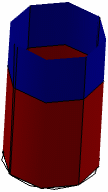
In the following example, seven elements in
intersection have been found by the Interferences mesh checker:

When you select Autofocus without using the Clipping
Box tool, the visualization focuses on the intersecting elements, but they are
not visible because they are located inside the volume:

When you click Clipping Box
 before selecting
Autofocus in the Interferences dialog box, the
visualization is reduced to the area where elements are in intersection, and other areas are
hidden:


![]() before selecting
Autofocus in the Interferences dialog box, the
visualization is reduced to the area where elements are in intersection, and other areas are
hidden:
before selecting
Autofocus in the Interferences dialog box, the
visualization is reduced to the area where elements are in intersection, and other areas are
hidden: