-
From the Mesh section of the action bar, click Meshing Editor
 , and select a surface mesh from the finite element model representation. , and select a surface mesh from the finite element model representation.
The Mesh Editing
app opens.
-
From the
Edit section of the
action bar,
click
Manual Edit
 . .
The
Manual Edit dialog box appears. You enter the
mesh editing mode, and you can access several tools to manually modify mesh
edges and mesh faces to improve the mesh quality (remove mesh edges, move mesh
nodes, split mesh elements, etc.).
-
To optimize the shape of neighboring elements when you modify an
edge or a face, select
Smooth around modifications.
-
To combine two adjacent triangle elements into a quadrangle with a
good mesh quality (if possible) when you modify an edge or face, select
Combine around modifications.
-
To swap edges of adjacent elements when you modify an edge or a
face, select
Swap around modifications.
-
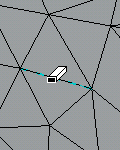
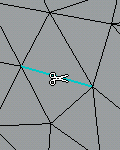
To remove an edge, right-click it and select
Remove Edge.

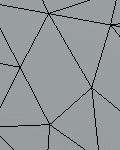
The edge is removed:

-
To condense nodes, right-click an edge, and select
Condense Nodes.
-
To split an element, right-click it, and select
Insert Node.

-
To swap edges, right-click an edge, and select
Swap Edge.
-
To move a node, pass the pointer over the node, click it, and drag
it to the desired location.
-
To move a node outside of the existing mesh plane, highlight the
node and select
Move node outside mesh from the
context menu.
The robot origin is positioned on the selected node so you
can use it to reposition the node.
-
Click
Cancel to cancel the modifications or
Close to validate the modifications.
The dialog box closes, and you exit the mesh editing mode.
|