Mold Tooling Design | |
| |
Mold Tooling Design provides the following work Flow with a Mold Project
| Roles | Command | ||
|---|---|---|---|
| 1 |  |
Add  > Content > Content |
|
| 2 | |
 |

|
| 3 |  |
 |
|
| 4 | |
  |
 
|
| 5 | |
  |
|
| 6 | |
  |
|
| 7 | |
 |
|
| 8 |
|
 |
 |
| 9 |
|
   |

|
| 10 |
 |
 |
 |
| 11 |
|
 |
 |
|
|
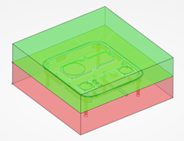
Another possible approach is working from a Mold Project:
- You create a Mold Project.
- You insert the design part in the Mold Project.
- Mold Tooling Design guides you through the conception of the Mold Base (Conceptual or detail design), as you create:
- Molded Part Publications
- An Insert Unit (Optional)
- A Multiple Layout Insert (Optional, applies only to multiprints)
- A Mold Base.
You can also work with a product structure you have created, used as template.
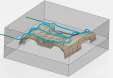
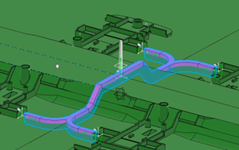
Mold Tooling Design can be considered as a tools box for mold makers. Use these tools to create Cooling Circuits and Runners and to place Components, Ejectors or Adaptive Systems.
Mold Tooling Design is a nativeapp available on the Cloud or on Premises.
For information on accessing Mold Tooling Design, see Opening an app from the Compass topic in the Getting Started User's Guide.