Creating a Mold Project | ||
| ||
-
Either start Mold Tooling Design, or select Add
 > Content.
-
Choose Design Input Part under Mold Project with Reference Parts and select a Design Part.
This is the recommended work method.
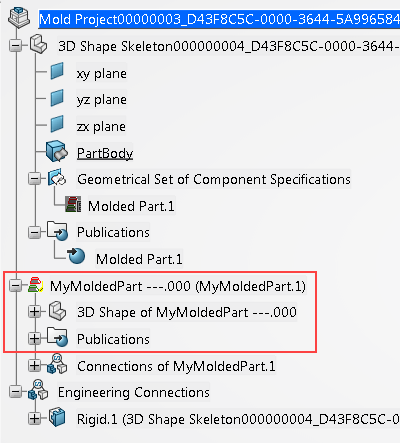
- A Mold Project is created, with a 3D Shape Skeleton containing a Component Specification of type Molded Part.
- The Design Part is instantiated under Design Input in the Mold Project.
- A Molded Part is created under the Design Input with a copy as Result With Link of the Part Body of the Design Part.
This Part Body is either the Body pointed by a publication named PartBody in the Design Part or the Main Body of the Design Part when this publication is not defined
- The Molded Part is placed on the Component Specification, allowing an accurate smart positioning of this second instance of the Molded Part.

-
Choose Molded Part under Mold Project with Reference Parts and select a Molded Part.
- A Mold Project is created, with a 3D Shape Skeleton containing a Component Specification of type Molded Part.
- The Molded Part is instantiated on the Component Specification, allowing an accurate smart positioning of the Molded Part.