-
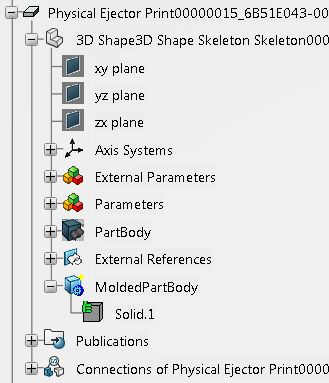
Publish the body containing the
Molded Part geometry.
-
When using Insert Unit,
the Molded Part geometry is copied in the Skeleton of the physical Ejector Print. Make MoldedPartBody and it associated body visible.
-
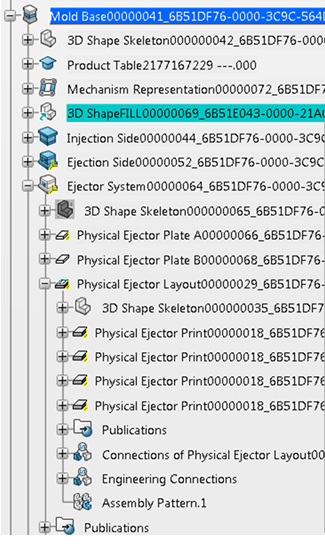
If Gates
and Runners are defined, use Prepare for Fill & Cool Simulation to create a Fill part (3D ShapeFILL) under the active product.
-
Select the physical Ejector Layout.
-
From the context menu, select .
-
Select 3D ShapeFILL.
The Fill part is copied inside the
Ejector System. The Molded Part and its sprue are displayed.
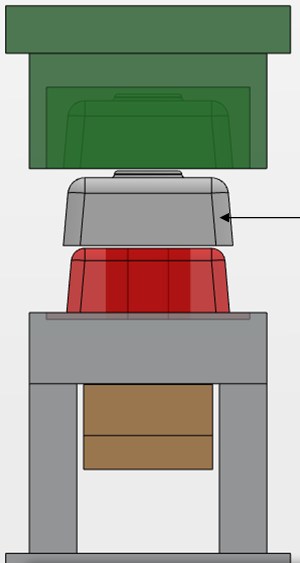
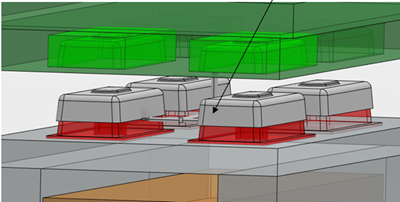
- Click Play in the Compass.
- If the Mold Base
has been created using a generative Insert Unit, you can see the ejection of the Molded Part.
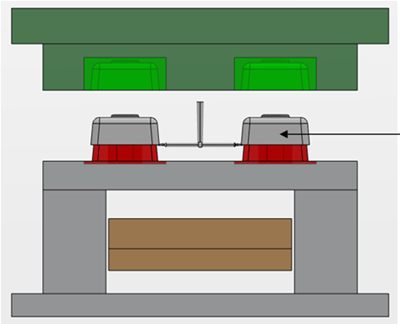
- If the Mold Base
has been created using a Multiple Layout
Insert, you can see the ejection of the Molded Part and its sprue.
|