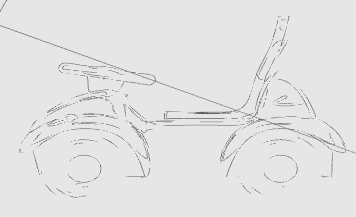
-
From the Images section of the action bar, tap Sketch Extraction
 .
.
A set of rough curves representing the image is created.

-
To modify the resolution of the image, press the pen button bound to the
right-click of the pointer and tap the image edge.
The
Image Resolution panel appears and displays the
possible available resolutions.
- From the standard area of the action bar, tap Transform
 .
.
-
Transform the selected curves by performing either of the
following operations:
- Resize the curves by dragging the corners or the edges of the handle's plane.
- Translate the curves along the directions of the handle.
- Translate the curves along the normal of the handle.
- Rotate the curves using the center point of the handle.
Transformation operations are also available by double-tapping the image, and
through Modify.
- Optional:
Copy, cut, paste, or delete the image as appropriate.
You can now use this image as a
drawing support for sketching or tracing.

 .
A set of rough curves representing the image is created.
 .
.