-
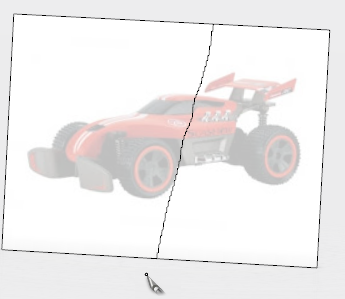
From the Images section of the action bar, tap Cut Image
 .
.
- Draw a stroke over the image to cut it.
The image is displayed in no show and a polyline appears on the image.

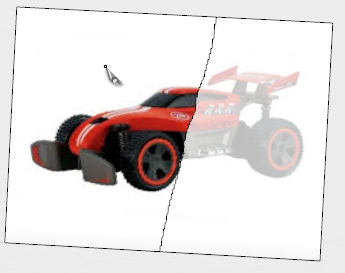
- Tap the part of the image you want to keep.

Notes:
- The kept image is added to the tree.
- The initial image is not modified.
- If you draw another line, the previous one disappears.
- You can cut several images at once.
-
To modify the resolution of the image, press the pen button bound to the
right-click of the pointer and tap the image edge.
The
Image Resolution panel appears and displays the
possible available resolutions.
- From the standard area of the action bar, tap Transform
 .
.
-
Transform the selected curves by performing either of the
following operations:
- Resize the curves by dragging the corners or the edges of the handle's plane.
- Translate the curves along the directions of the handle.
- Translate the curves along the normal of the handle.
- Rotate the curves using the center point of the handle.
Transformation operations are also available by double-tapping the image, and
through Modify.
- Optional:
Copy, cut, paste, or delete the image as appropriate.
You can now use this image as a
drawing support for sketching or tracing.