-
From the standard area of the action bar, tap Select Plane
 . .
Three planes appear.
-
To define the plane, do one the following:
- Tap one of the planes.
- Position the pointer close to an existing geometry (point, line or surface) or curve (sketched or traced) until it is highlighted in blue, and tap it.
- Tap an image support.
- Draw a stroke over a curve (sketched or traced).
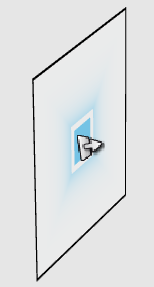
The center of the drawing plane and its normals will be computed according to the selected element.
Handles appear on the selected plane.
- Optional:
Use the handles to change the position of
the plane:
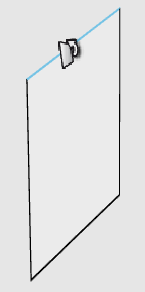
The position of the
plane is modified accordingly. Other elements in your design remain in their
original position.
- Right-click the plane and click Dump Plane.
A plane is created at the current orientation and position. - Validate the selection and position of the plane, by performing either of the following operations:
- Tap another icon.
- Press Escape twice.
|