-
From the Surface Reconstruction section of the action bar, click Interactive Segmentation
 . .
-
To compute a segmentation, select a mesh.
- Set the parameters values.
- Click Apply to start the computation of the areas, or to take the modification of a parameter into account.
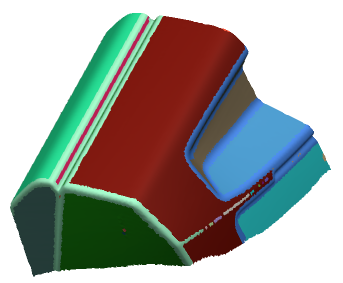
Areas are computed according to the
curvature, and then merged.
The areas are displayed in different colors.

-
You cannot modify the colors of the result.
- The standard Graphic Fill Color is not taken into account.
An InteractiveSegmentation.x feature is created.
Note:
You can edit this segmentation to improve it, either before clicking OK or after having created a segmentation.
- To edit a segmentation, double-click an existing one, or start a segmentation and pick the mesh.
A circular brush is attached to the pointer. -
Do one of the following:
- Right-click the brush and define its radius. Brush an area. A new area is created.
- Create an area by propagation, based on an angle:
- Right-click the brush and define the required angle between any triangle and its
normal.
- Pick a point (thus a triangle) on the mesh.
The triangles surrounding this point that fit the angle criterion are merged in a
new area. - Extend an area: Start brushing within the area to extend, then on the triangles to add.
- Merge two areas: Hold down Ctrl and drag the brush over the areas you want to merge.
- Detach an area: Hold Ctrl down and pick the area to detach. It is
useful when the main area contains several non-connex subareas.
|