-
From the Rendering Scene Design section of the action bar, select Manage
Camera
 (or press CTRL+ALT+C). (or press CTRL+ALT+C).
The Edit Camera and Cameras panel open to
let you modify camera parameters and manage the cameras you create. -
In the Edit Camera panel, click Create
Camera
 . .
Cameras can be created both in part or product context. Depending on the
UI-active object, the camera is created under a:
- root product
- product instance
- 3D Part instance
- part representation.
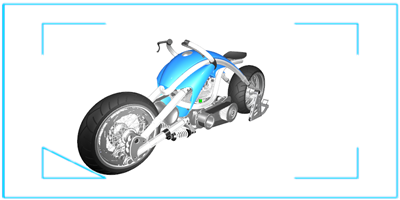
A camera appears in the 3D and in the tree.

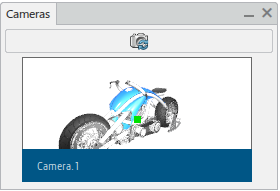
A new camera thumbnail is also added to the Cameras
panel.

-
To change the position and the focal length of the camera, click the camera in
the 3D area, and then use the two spheres and the two squares displayed in green.
-
To rename a camera, enter the new name in the Name box
in the Edit Camera panel.
-
To create additional cameras, either click Create Camera
 in the Edit
Camera panel, or use the Create Camera
contextual command from the Cameras panel. in the Edit
Camera panel, or use the Create Camera
contextual command from the Cameras panel.
-
Use the Cameras
panel to manage and play cameras through contextual commands.
|