- From the Annotation section of the action bar, click Arrow.
- Click a point or select an object to define the arrow
starting point (the head).
- Move the pointer so that the arrow orientation is snapped on the privileged direction.
The arrow segment turns blue indicating the snapping on the privileged direction. The privileged directions are horizontal, vertical, reference normal and reference tangent directions. 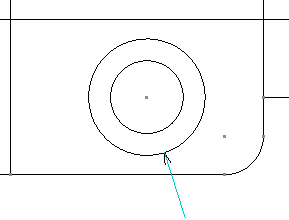 - Click another point or select another object to define
the arrow extremity (the tail).
The arrow is created.
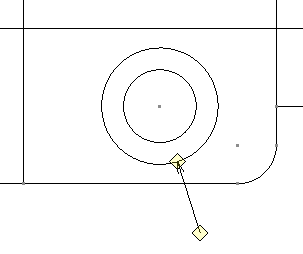
- To add a breakpoint, select the arrow and right-click
a yellow handle and select Add a Breakpoint.
A breakpoint is added to the arrow. You can drag it
to change the arrow path.
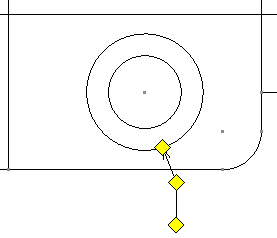
- To select a symbol for the arrow tail, right-click the
yellow tail handle.
- Right click the yellow handle, select Symbol Shape
and then a symbol.
The symbol you select now appears on the arrow tail.
You can also change the symbol used for the arrow head by repeating
steps 6 and 7.
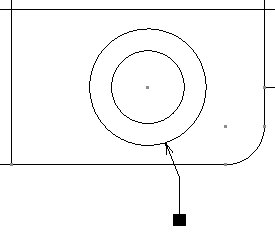
- To create an interruption, right-click
a yellow handle and select Add an Interruption.
- Select the first interruption point.
- Select the second interruption point.
An interruption is added to the arrow.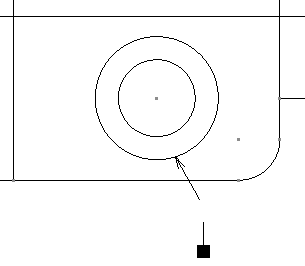
|