Add Pegs
You can add pegs to the representation in the Pack Manager.
-
In the Merchandising menu, click Pegs
 .
The Pegs tab appears.
.
The Pegs tab appears.Tip: You can also open this tab from the Properties tab. In the Merchandising section, go to Pegs and click +. -
In the Peg List section, click Add a Peg.
The peg appears in the Peg List.
Tip: Click the cross to remove the peg from the list. Note: You can add up to six pegs to a representation. - Select the convenient peg in the list.
-
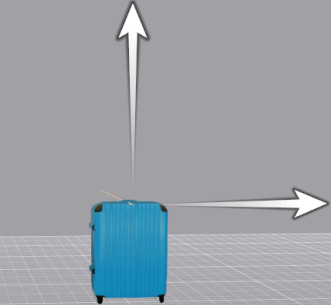
Move the white arrows to correctly position the peg on the representation in the work area.
Note: You can also click Rotate 90° around Z-Axis
 to rotate the peg.
- Optional: To adjust the gap between two hanging items, move the slider located under the pegs list.
 .
.