Select an Existing Folding
You can select a predefined folding for the representation. For more information, see About Folding Management.
- From the Modeling section in the Properties panel, select either of the following values for Folding:
Value Description Representation after Folding None To not define folding on the representation.  \
\Custom To create a custom folding. Left folding To create a left folding. 
Right folding To create a right folding. 
Top folding To create a top folding. 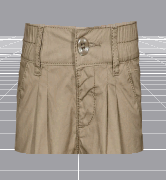
Bottom folding To create a bottom folding. 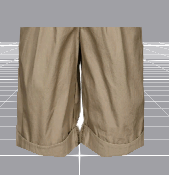
Square folding To create a square folding. 
 .
. .
.
 to view result of the folding configuration.