Managing Hanging and Laying Zones

You can add laying zones and hanging zones to furniture. A laying zone is used to place products on top of it and a hanging zone is used to suspend products from it. You can create furniture that can be used in Store Studio as standard furniture (shelf, short shelf, drawer, peg, and hanging bar).

Required access role: Leader

This task shows you how to:


Before you begin: Select Furniture as the representation nature of model.

Add Laying Zones

You can add laying zones to furniture.

Before you begin: Open Pack Manager.
  1. In the Merchandising menu, click Furniture to open the corresponding view.
    The Furniture web panel appears.
  2. In the Furniture web panel, click Laying Zone.
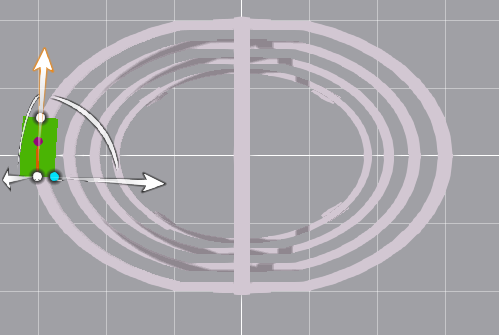
    A laying zone appears in the 3D view on the current representation.
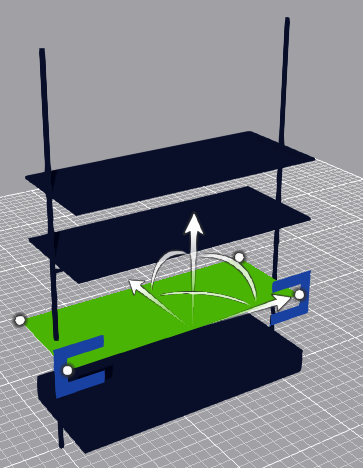
    Important: Points to remember when you use the laying zone.
    • A blue indicator shows the front of the laying zone. In the Store Studio experience, facings will be directed to this face.
    • Drag the laying zone to the position where it must be placed on the furniture.
    • Use the arrows to change the position of the laying zone along the x, y, and z axis. Use the white arcs to change the orientation of the zone.
    • Drag the four corners to resize the laying zone. Size of the laying zone can also be changed by entering values of Width and Depth in the Properties box, in the web panel.

    Multiple laying zones can be added to the furniture. All the laying zones are listed in the Zones list, in the left web panel. When you select a laying zone in the Zones list, the zone is highlighted in the 3D view.

    Note: You can:
    • Click to delete a laying zone.
    • Click to clone a laying zone.

  3. In the Home menu, click Save.

Add Hanging Zones

You can add hanging zones to furniture.

Before you begin: Open Pack Manager.
  1. In the Merchandising menu, click Furniture to open the corresponding view.
    The Furniture web panel appears.
  2. In the Furniture web panel, click Hanging Zone.
    A hanging zone appears in the 3D view on your current representation.

    You can perform the following actions:

    ActionBefore Performing the ActionAfter Performing the Action
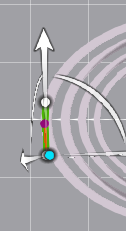
    Drag the blue circular handle to change width of the hanging zone. Width of the hanging zone can also be changed by entering value of Width in the Properties box, in the Furniture page.
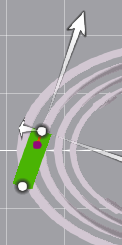
    Click a white circular handle. It becomes the active control point. Use to handle to move the control point. You can also drag to move the control point.
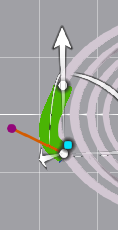
    After you select a control point (white circle), purple circles appear (tangent handle). Drag the purple circular handle to edit the curve of the hanging zone.

    Multiple hanging zones can be added to the furniture. All the hanging zones are listed in the Zones list, in the Furniture web panel. When you select a hanging zone in the Zones list, the zone is highlighted in the 3D view.

    Note: You can:
    • Click to delete a hanging zone.
    • Click to clone a hanging zone.

    In the Furniture page, click Add Point to add a new control point at the end of the active (highlighted in the 3D view) hanging zone. All the control points are listed in the Control Points list.

  3. In the Home menu, click Save.