-
In the Mesh Part Manager, right-click the O-ring's mesh representation, and select
Delete.
The app deletes the original O-ring mesh.
-
From the Mesh section of the action bar, click Sweep 3D Mesh
 . .
-
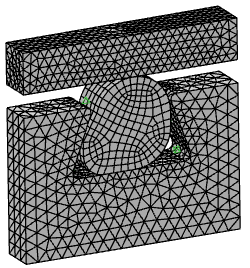
Create a mesh for the O-ring using hexahedral elements.
-
Select the O-ring as the support.
-
Select Initialize from Geometry.
-
Under the Distribution section, select
Layer size, and confirm that the value is set
to 0.488 mm.
-
Select Edit all parameters.
-
For the Element shape, click Hex
Only
 to use hexahedral elements exclusively, and click
OK. to use hexahedral elements exclusively, and click
OK.
-
Click Mesh.
The app meshes the O-ring.
-
Click OK.
All mesh definitions are now current.
-
Click OK to close the Mesh Part Manager.
-
From the standard area of the action bar, click Scenario
 . .
Structural Scenario Creation opens.
-
From the standard area of the action bar, click Feature Manager
 . .
-
In the Scenario tab, double-click the row with
Global Element Map listed in the
Type column.
The Element Type Assignment dialog box
appears.
-
From the Linear Brick options, select
C3D8H.
-
Click OK.
The app applies the formulation of the 8-node linear brick hybrid element to the
O-ring mesh.
-
Save your work.
|
 in the
appropriate mesh row.
in the
appropriate mesh row.