-
Select the face you want to extrude.
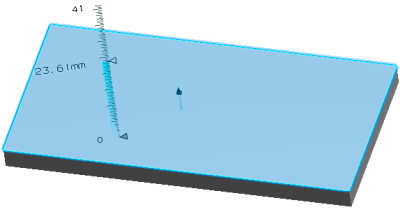
An arrow appears.
-
Select the arrow and drag it in the direction of your choice.
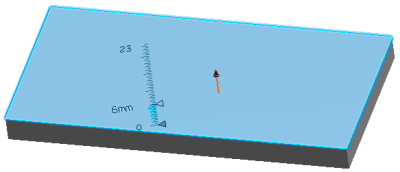
The ruler appears and displays the thickness of the wall.
-
To define the thickness of the wall, do either of the following:
- If you already have set the sheetmetal parameters, release the mouse. The ruler displays a thickness but your wall is automatically created according to the thickness you defined in the parameters. Here, for example, the thickness is set to 5mm and the mouse is released on 23.61mm: the wall is created with a thickness of 5mm.

- If you have not defined the sheetmetal parameters yet, release the mouse when the displayed thickness is correct or click the value displayed along the ruler, enter a new value and press
Enter to validate.

Note:
By default, the bend radius value is twice the thickness value in the sheetmetal parameters. Here, for example, the thickness is 6mm so the bend radius is 12mm.
The shape is created. If you release the mouse when over
existing geometry, the app uses this geometry to trim the
extrusion.
|