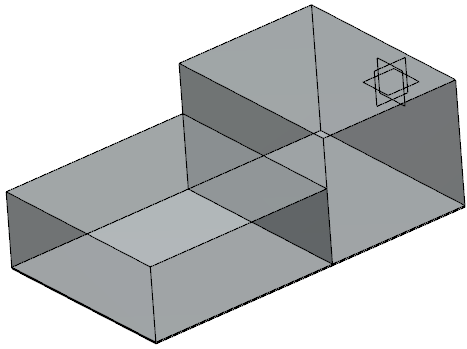
- Create the
Reserve Areas node in the tree under the Steel Outfitting Design node:
- Right-click the Steel Outfitting Design node in the tree and select .
-
In the New Content dialog box,
click Physical Product.
-
In the Physical Product dialog box,
specify the title of the root product (for example Reserve Areas) and click OK.
-
Insert new design space reference (for example ReserveArea_1) in the tree under the Reserve Areas node:
- Right-click the ReserveAreas node in the tree and select .
-
In the New Content dialog box,
select .
-
In the tree, double-click
the representation (3D Shape) available under the ReserveArea_1 node to activate it.
-
Switch to the Part Design Essentials
app and design volume of the area.
-
Assign the volume to the ReserveArea_1:
-
Right click the ReserveArea_1 in the tree and select Assign Volume
 . .
-
Select a volume in the tree or 3D area.
The area gets reserved for the steel outfitting. -
Repeat the steps 2 to 5 to reserve other areas.
 Note:
For more information, see Space Allocation User's Guide.
|