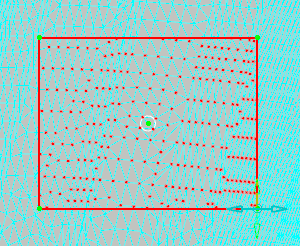
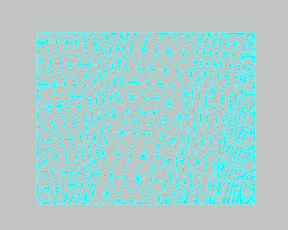
The input element is hidden. Two elements are created:
- SplitCloud.1 and SplitCloud.2 if the input
element was a cloud. SplitCloud.1 corresponds
to the remaining portion of the original cloud.
SplitCloud.2 is the split cloud (portion
selected).
- SplitMesh.1 and SplitMesh.2 if the input element was a mesh SplitMesh.1 corresponds to the remaining portion of the original mesh,SplitMesh.2 is the split mesh (portion selected).
- The output element indexes are increased if further splits occur.
- If the selection is empty, no split element is created.
- To retrieve the original input element, recall it from the No Show, or merge the two split elements.
- When you split a mesh using the Trap option, the triangles are smoothly cut by the trap line.


 and
select the mesh or the cloud to split.
 Trap to
  Flood.
  With Angle.
 Edit Angle and modify the value of the angle in the pop-up that appears.
