Installing Exalead CloudView

This section explains how to install Exalead CloudView which indexes content for the 3DSwym index.

Important:
  • Install the Exalead CloudView media only once per release on your machine.
  • To deploy a hotfix for the Exalead CloudView media and any application based on it, stop the Exalead CloudView service, before running the installer.


Before you begin:

The Exalead CloudView server must have access to one or more DSLS servers. To make this access possible:

  • You must have a DSLicSrv.txt file referencing the DSLS server on the machine hosting the Exalead CloudView :
    • For a Windows platform: C:\ProgramData\DassaultSystemes\Licenses\DSLicSrv.txt
    • For a Linux platform: /var/DassaultSystemes/Licenses/DSLicSrv.txt
  • These DSLS servers must be up and running, and accessible from the machine hosting the Exalead CloudView server.
  • For Linux installations, verify that the libatomic library is installed, using the command yum -y install libatomic

Context: This media uses default values for:

  • The admin password (default to exalead).
  • The number of slices and analyzers.

  1. Procure the media for your operating system, and prepare to install the software as explained in the DS Installer Guide.

    The name of the installation media is:

    • EXALEAD_CloudView-V6R2022x.Windows64.zip on Windows.
    • EXALEAD_CloudView-V6R2022x.Linux64.tar.gz on Linux.

  2. Untar/unzip the media to create the following directory:

    • EXALEAD_CloudView.Windows64 on Windows.
    • EXALEAD_CloudView.Linux64 on Linux.

  3. Change to the distribution directory.

    The directory is:

    • EXALEAD_CloudView.Windows64/1 on Windows.
    • EXALEAD_CloudView.Linux64/1 on Linux.

    Then start the installation as follows:

    • Windows: double-click setup.exe
    • Linux: ./StartGUI.sh for the GUI, or ./StartTUI.sh

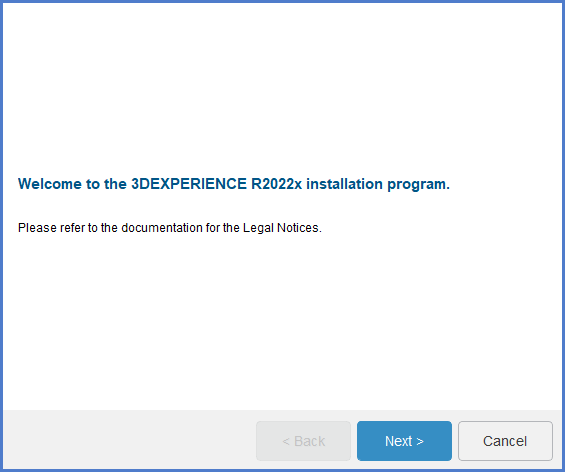
    The installation procedure starts, and a dialog box displays a welcome message.

    Note: The dialog boxes are the same on both Windows and Linux.


    Click Next.
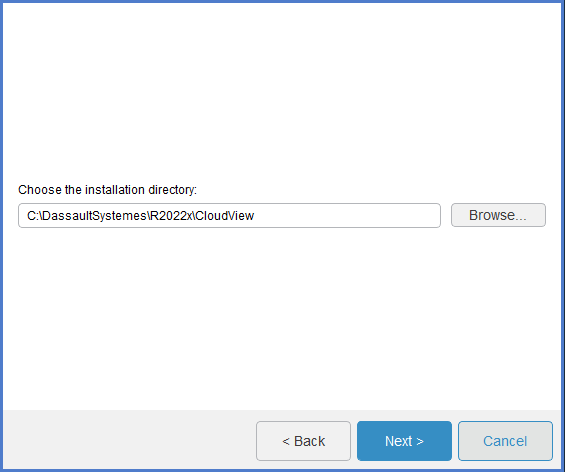
  4. Specify the installation directory.

    For example:

    • C:\DassaultSystemes\R2022x\CloudView on Windows.
    • /usr/DassaultSystemes/R2022x/CloudView on Linux.

    Note: The installation path cannot contain any space characters.

    Or, click Browse... and navigate to choose the directory.


    Click Next.
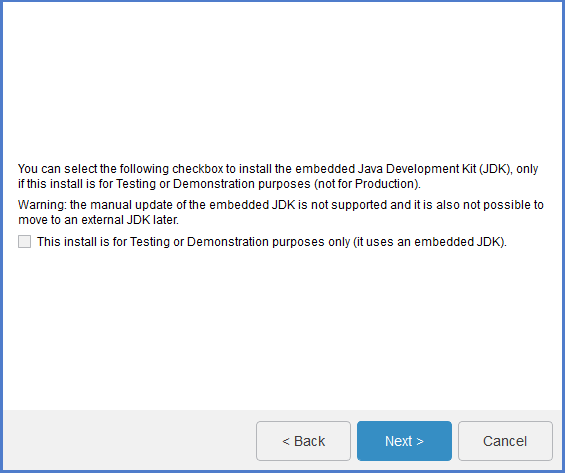
  5. Specify if you want to install the embedded Java.


    To install the service, you must have a Java Development Kit (JDK).

    The This install is for Testing or Demonstration purposes only (it uses an embedded JDK) check box is not selected by default.

    Click Next.
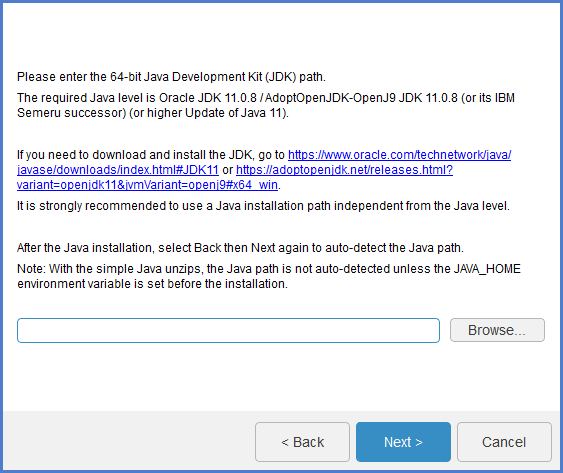
  6. If you did not select the This install is for Testing or Demonstration purposes only (it uses an embedded JDK) check box, specify the Java Home path.


    This is the location of your Java Development Kit (JDK). On Windows, the setup detects the Java location automatically.

    Click Next.
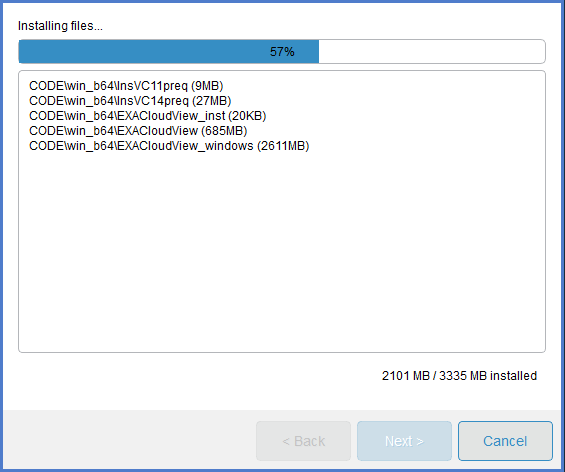
  7. Review your installation choices, then click Install.

    The installation starts with a check of Exalead CloudView OS dependencies.


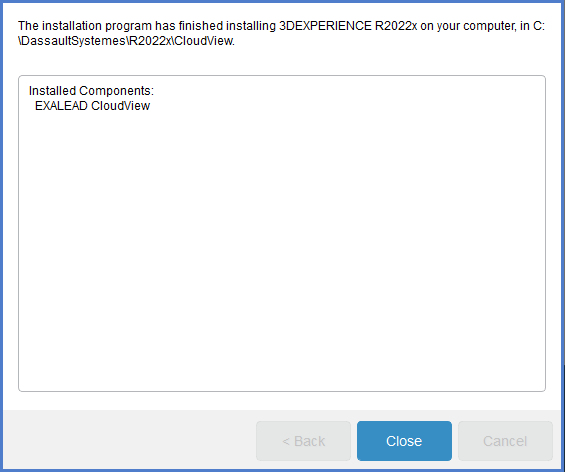
When the installation is complete, you get a message saying Installed Components: EXALEAD CloudView and can click Close.


For more information about the commands required to stop or start the Exalead CloudView Server after installation, see Business Analytics Server Administration Guide: Maintaining Your Installation: Administration Tools: Get Started with Command-Line Interfaces.