Parting Surfaces | ||
| ||
-
From the Mold Features section of the action bar, click
Parting Surfaces
 .
.
-
In the Parting Surface dialog box, select the parting lines from
the mold in the work area.
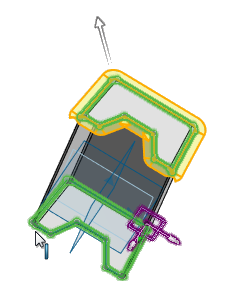
- Click the check box to enable Tangent propagation.
-
For the parting surfaces specify the pull direction, distance and angle for the parting
surface. Specify the direction for the parting surface from:
- Perpendicular to pulling direction
- Tangent to surface
- Normal to surface
- Selected direction
Normal to surface
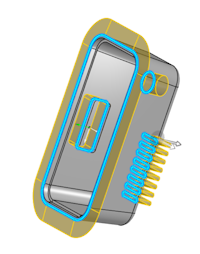 .
. Tangent to surface
 .
.Selected direction
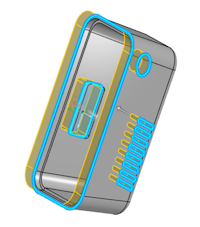 .Note: You can change the distance of the parting surface using the handles.
 - You can specify the ruled surface distance from the parting line. Enter the Distance.
- From the Advanced section, in the Exclude parting line edges dialog box, select the parting line edges to exclude.
-
Select the corner treatment for the parting
surface:
- Sharp corners
- Round corners
For round corners, select the maximum radius.
Selected sharp corners
 .
. Selected round corners
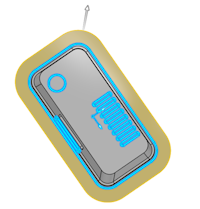 .
. -
Click
the check box to enable knit surfaces together. Clear this option to create individual
surfaces.
Round corners without knit
 .
. Sharp corners with knit
 . You can zoom in to see the details.
 - Specify Knit Tolarence if required.
-
To manually set the direction for the parting surface, select Manual
Direction Control.
Click the handle and select one of the following options:
- Perpendicular to pulling direction
- Tangent to surface
- Normal to surface
- Along X
- Along Y
- Along Z
- Fill to Adjacent.
- Selected direction
To set the direction to default, click Reset
 .
.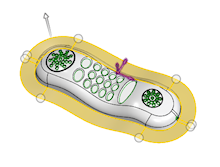 Note: To select multiple handles, press Shift and click the handles.
 - To highlight the ends of the incomplete parting lines, enable the Display surface openings, .
-
Click
 .
Note: To return to the parting surfaces, double-click the parting surface in the Design Manager tree.
| See Also |
| More help on this topic |