Shut-Off Surfaces | ||
| ||
-
From the Mold Features section of the action bar, click
Shut Off Surface
 .
.
-
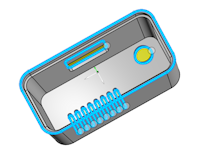
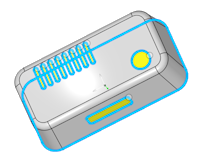
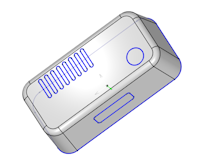
In the dialog box, select the parting lines from the mold in the work
area.

- You can enable online handles for the holes using Callouts.
-
Click the small circle near the hole to select an option from the callout. You can
choose to:
- Contact fill: Fills each hole not taking surface continuity into account.
- Tangent fill: Fills each hole with the surface, which is tangent to the faces around the hole.
- No fill: Use this option for complex holes that you must fill manually.

- Optional: You can enable the hole analysis to see the type of holes in the mold.
- Optional:
You can choose the colors for the drafts from the color palette. Double-click the draft
color to open the color palette. The default colors for the holes are as below.
Option Description Drafts Default Colors Contact filled holes 
Tangent filled holes 
Unfilled holes 
Open loops 
- Click Set all contact, to select all holes to be contact filled.
- Click Set all tangent, to select all holes to be tangent filled.
-
Click
 .
.
 Note: To edit shut-off surfaces, double-click the shut-off surface in the Design Manager tree.
| See Also |
| More help on this topic |