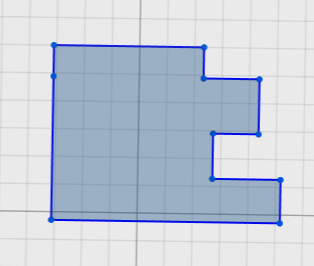
-
From the Sketch section of the action bar, click Create or Edit
sketch
 and
select a plane for sketching. and
select a plane for sketching.
-
Click to
 exit the sketch exit the sketch
-
From the Sheet Metal section of the action bar, click Wall
 . .
-
In the Wall dialog box, click Profile
and from the work area, select a profile, face or, an edge.
-
From the Sketch Orientation list, click one of the
following:
| Option | Description |
|---|
 Bottom
 |
Defines the sketch at the bottom position of the wall thickness.
|
 Middle
|
Defines the sketch at the middle position of the wall thickness.
|
 Top
Top |
Defines the sketch at the top position of the wall
thickness. |
-
Specify an offset value for a wall.
The default value is 0 mm. Alternatively, from the work area, you can drag the offset handle.
-
Click
 to
reverse the direction of an offset. Alternatively, from the work area, you can drag the handle to reverse the direction. to
reverse the direction of an offset. Alternatively, from the work area, you can drag the handle to reverse the direction.
-
Optional: Under Merge options, click
Contact faces, and from the work area, select one or more faces to merge a wall with an existing body.
Note:
The first wall of the body is the reference wall.
-
Click
 to save
and close the dialog box. to save
and close the dialog box.
Note:
You can use equations for all numeric parameters. Click the dimension text. The dimension
text becomes editable. Type = in the input field, to
open the Equation dialog box and enter a formula or number. Select a
parameter from the list. You can perform the basic operations such as
bracket, addition, subtraction, multiplication, and division on the
parameter value. For more information, see Equations.
|
 and
select a plane for sketching.

 exit the sketch
 .
.
 Bottom
 Middle
 Top
Top to
reverse the direction of an offset. Alternatively, from the work area, you can drag the handle to reverse the direction.
 to save
and close the dialog box.
Note: You can use equations for all numeric parameters. Click the dimension text. The dimension text becomes editable. Type = in the input field, to open the Equation dialog box and enter a formula or number. Select a parameter from the list. You can perform the basic operations such as bracket, addition, subtraction, multiplication, and division on the parameter value. For more information, see Equations.