Create Tables
-
Activate a 3D view from the Manager panel.
-
From the action bar,
select Annotation > Tables
 . .
A table appears in the work area.
-
From the dialog box, select the number of rows and columns.
Default number for row and column is three.
-
Select a font and font size.
-
Select an option for Line Thickness.
-
Click
 to complete
and close the dialog box. to complete
and close the dialog box.
 The table is
created on the selected component. The dialog box remains open. You can create
multiple tables at once. Click to save
changes and close the dialog box. .
Edit Tables
-
Click the table you want to edit.
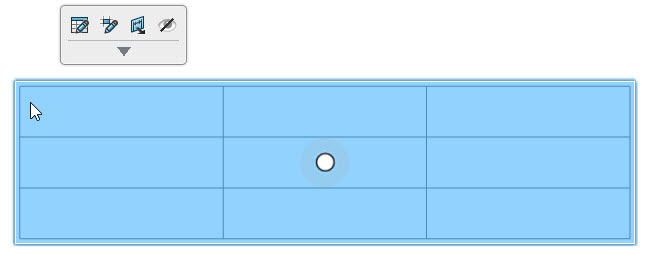 You can drag
or move the table using the handle (large dot). -
From the context toolbar that appears, select the edit options.
| Commands | Description |
|---|
| General Table Edit |
Edits the rows, columns, font, font size, and line thickness. |
| Edit Note |
Add and edits notes in the selected table cells. |
| Edit Annotation Plane |
Edits the annotation plane of the table. |
|