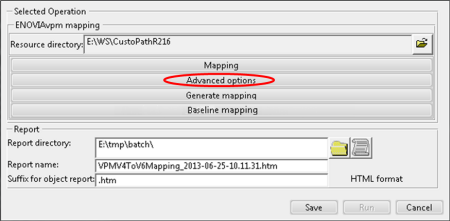
- Click the Advanced options
button in the VPMV4ToV6Mapping dialog box:

The Advanced options dialog box appears:  - In the Existing mapping management section, you can, once the mapping has been completed, erase certain types of unwanted files among those generated, i.e. mapping files, cache files and resource files, by selecting the appropriate checkboxes:

then clicking Go
in the lower right-hand corner of the Advanced options dialog box.
Note:
Bear in mind that the VPM1.6 PTF20 is the minimum level required to be able to erase files on the ENOVIAvpm server.
- In the same section, you can also migrate the existing mapping from a previous level (starting with V6R2011) to the current level:

The role used by the mapping can also be changed. - To generate the mapping on the server, you must now select Run in the VPMV4ToV6Mapping dialog box.
The files generated are the same
as those generated with the mapping tool.
|


