Creating a Fillet Weld

The first step consists in creating a fillet weld.

  1. To create the structure of your design, from the Weld section of the action bar, click Bundle of Welds .

    The bundle of welds contains all the weld bodies you need.

  2. Select Physical Product.
  3. Enter MyWelds as the name you want to assign to the bundle of welds and click OK.
    The bundle of welds is created under the active root node. It contains a weld body.
  4. From the Weld section of the action bar, click Fillet Weld .
  5. Select the weld body in the tree.
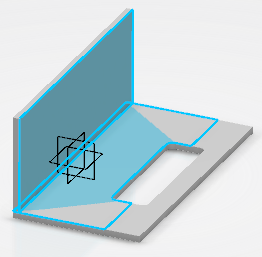
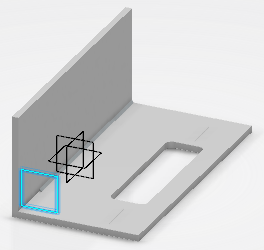
  6. Select successively these two faces as supports.

  7. To define the limits for the weld, create two planes. First, right-click No Selection in Limits and select Insert Wireframe > Create Plane.
  8. Select plane yz and enter 250mm as the offset value you want to position the plane.
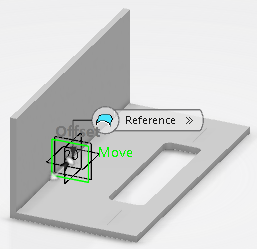
  9. Click OK.
    The plane is created.

  10. Perform the same step to create a second plane in the opposite direction.
    You now have defined two limits for the weld you want to create.
  11. Enter 25 mm as the thickness to assign to the weld.
  12. Click OK.

The fillet weld is created. It is stored in the weld body.

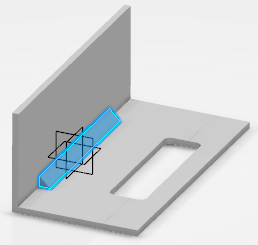
Next step: Creating a Weld Body.