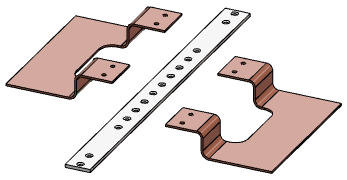
 -
Click Smart Mate
 from the
Assembly section of action bar. from the
Assembly section of action bar.
The Smart Mate feature is active. Click Smart
Mate
 again to turn
Smart Mate off. -
In the 3D area, drag a component to another component and pause where
you want the components to mate.
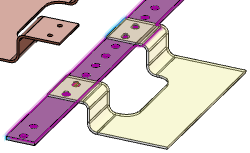
In this example, the right tray panel was dragged to the mounting bar. When dragging
the component, it becomes translucent. The target component is highlighted when a mate
or mate set is suggested.

-
Release the mouse when the correct component and target mates highlight.
The Smart Mate
context toolbar displays.  The components
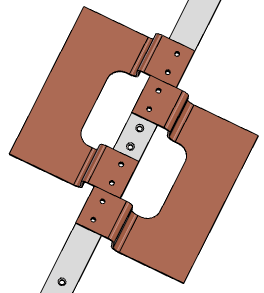
become mated and the tree is updated. -
From the context toolbar, click the following options:
| Option | Description |
|---|
 |
Expand. Opens the Smart Mate dialog box
providing all available options. |
 |
OK. The suggested mate command finishes, the components
stay in the current location, and the context toolbar closes. |
 |
Cancel. Cancels the mate placement and closes the context toolbar. |
- Optional:
Create a second set of mates by selecting the surfaces before dragging the
component.
-
Drag the component to the other component and pause where you want the components to
mate.
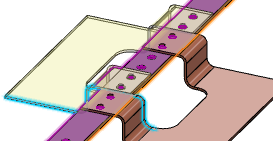
In this example, the left tray panel was dragged to the mounting bar.

The
Smart Mate
context toolbar displays.  - Optional:
Click Expand
 to
open In the Smart Mate dialog box to review and edit the
mates. to
open In the Smart Mate dialog box to review and edit the
mates.
- Click
 to expand
mate sections. to expand
mate sections.
- Click
 to
remove selections. to
remove selections.
-
Click
 in the Smart Mate dialog box (or context toolbar) to accept the suggestions and close Smart Mate. in the Smart Mate dialog box (or context toolbar) to accept the suggestions and close Smart Mate.

|

 and clear the Perspective selection.
