-
From the home page,
select a template.
-
Select a community where you want to publish your story.
Your story is created.
-
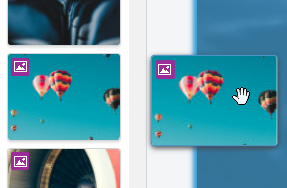
Add an image from the built-in library:
-
In the left pane, click Change Content Source
and select Library.
-
Drag an image to a grid cell of the scene.
-
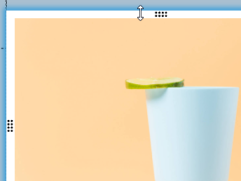
To adjust the scene layout, select a grid cell and drag a cell border.
-
Modify the content of a text and click outside the box to validate your changes.
-
Apply new colors to your scene:
-
Click Theme in the vertical toolbar.
-
Choose a color palette.
-
Add a new scene:
-
Go to the right pane.
-
Click Add Scene.
-
Add a template:
-
Click Template in the vertical toolbar.
-
Choose a template.
-
Split the scene:
-
Select the scene.
-
In the context toolbar, click Split Horizontally or Split
Vertically.
-
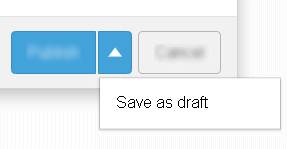
Save your story as a draft:
-
From the action bar, click Save and Publish
and select
Publish.
-
In the Publish dialog box, click the arrow button next to
Publish, and select Save as
Draft.
-
Publish your story to the selected community:
-
From the action bar, click Save and Publish
and select
Publish.
- Optional:
In the Publish dialog box, enter a name and a
description.
-
To display your story in the What's New feed of 3DSwym, select the Display on What's New check box.
-
Click Publish.
|