Defining a Sheet | |||||
|
| ||||
- From the top bar, select Add
 > Content, or press Ctrl+N.
 - In the New Content panel, click Drafting, then right-click Drawing and select Set attributes at creation.
-
In the Drawing dialog box, in the Drawing tab, specify the representation kind, enter a name for your representation, and a description.
By default, a name RepresentationX (where X is a number) is specified. For more information about the Drawing tab and general representation attributes, see 3DEXPERIENCE Platform User's Guide: Working on Objects: Creating Objects: Creating New Objects.
Tip: Once you create the drawing representation, you can modify its name by right-clicking the drawing in the tree, and then selecting Properties. -
In the Drawing Information tab, under Standard, select the required standard.
Important: If you choose a standard other than the default one specified in Me  > Preferences > App Preferences > 3D Modeling > Mechanical Systems
> Drafting > Drawing tab, under Drawing Creation, then the default
standard specified in Me
  > Preferences is modified accordingly. For more information, see Drawing tab.
 -
Under Sheet Style, select the required sheet style.
The corresponding values are displayed for the selected sheet style:
- Sheet format
- Paper size
- Global scale
-
Optional:
Choose the orientation: Portrait or Landscape.
By default, the Landscape orientation is selected.
Important: The last selected standard and the sheet style are saved as user preference when creating a drawing. - Optional: From the Automatic View Creation Layout list, select the required automatic view creation.Note: When only one choice, Empty sheet, is available and selected by default. Then the drawing representation is created with an empty sheet.
- Optional: Select the Insert drawing in Physical ProductX check box. The drawing is inserted in the active product.
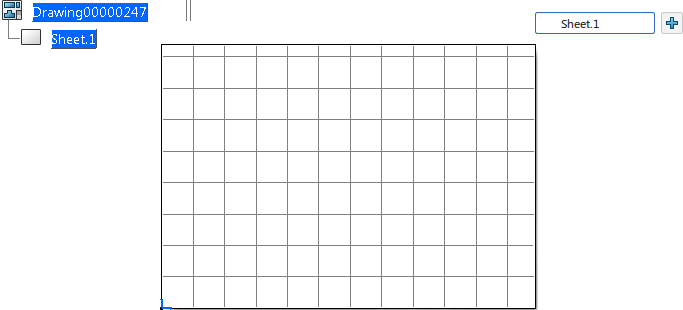
Important: When the product is not active, the Automatic View Creation Layout list and the Insert drawing in Physical ProductX check box, are unavailable. - Click OK.The Drafting app is loaded and the first empty sheet, Sheet.1 is created and also displayed in the sheet browser.Notes:
- In the Drawings app, the created drawing can be either a stand-alone representation or a product aggregated representation. You can open any drawing and work in it.
- If you add a new sheet to your drawing and make it active, the Undo command is unavailable in the first sheet.
Tip: Press F3 to show or hide the tree.  Note: When the sheet frame is displayed in the drawing, the grid is displayed within the sheet frame. When the sheet frame is not displayed in the drawing, the grid is displayed in the entire window.