Creating Cutouts | |||||||
|
| ||||||
-
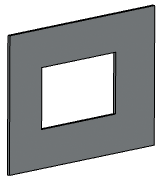
From the Operation section of the action bar, click Cutout
 .
.
-
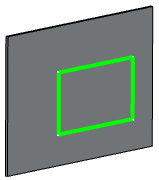
Under Cutout Definition, select a cutting element under the
Cutting Element column.
Notes:
- You can select a closed output profile, closed surface, or volume.
- The cutting element must fully intersect with the feature. In case of an output profile, the profile is projected on the feature.
- A name is automatically assigned to the cutout feature under the Name column. You can change it as required.
- A new row is added for another cutout creation. In this way, you can create several cutouts on the selected feature by selecting several cutting elements.
- You can click
 to delete a cutout
row.
to delete a cutout
row.
-
Click OK.
The cutout is created.