Modifying the Pattern Specification Referenced in an Assembly Pattern | |||
| |||
-
Double-click the
assembly pattern feature in the tree.
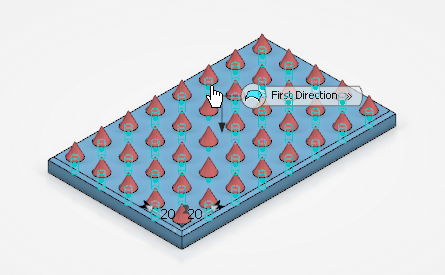
On the right side of the 3D area, the Assembly Pattern panel displays pattern options. Click the Unpin
 arrow if needed to display the options.
Flag for the assembly pattern appears in the 3D area.
- Click pattern instances to deactivate/activate pattern instances in the 3D area.
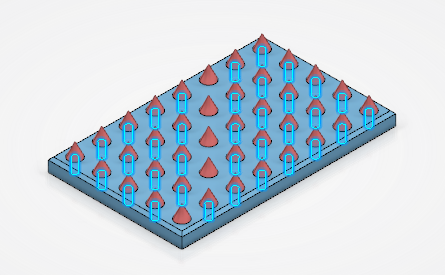
- Click anywhere in the
3D area
to validate. The cursor looks like this
 .
. - Click
Update
 .The Update Report dialog box appears.
Important: When the Assembly pattern repair during update option is set to Automatic, the Update Report dialog box does not appear and the task will end here.
- Click
Edit definition of the selected
object
 .The Update Report dialog box disappears, and the Assembly Pattern context toolbar appears.
 - Click Repair
 .
. - Click
Update
 .
.The assembly pattern is updated.
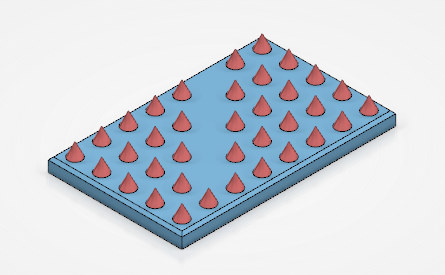
Unnecessary pattern instances have been removed from the tree.