Creating a Web Using Limits

You can select limits when creating a web.


Before you begin: Create a plane, a closed sketch or a surface (a planar, ruled or double curvature surface).
See Also
Creating Webs
  1. From the Model section of the action bar, click Web .
    The Web Definition dialog box appears.
  2. In the Support box, select the support geometry in the tree.
  3. In the Boundary box, select the elements to form a closed profile.
    A light preview of the web is available.

  4. To modify the boundaries, select an existing limit and use one of the following options:
    OptionDescription
    Add After Adds a limit after the selected limit
    Replace Replaces a limit
    Insert Selects a limit more than once.
    Multiple Selection Selects several limits or several times the same limit to modify the existing limit. This option is available once you have selected Add After, Add Before, Replace.
    Add Before Adds a limit before the selected limit
    Edit Edits the reference limit
    Remove All Removes all limits
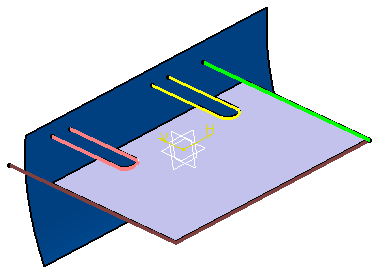
  5. Select a surface and click on the pink sketch to add it to the web definition.
  6. Select the surface again and click on the yellow sketch to add it to the web definition.
  7. Click OK.


    Important: When the profile is defined by a list of geometrical elements, the following operations are performed:
    • The curves are projected on the web geometrical support,
    • The surfaces are intersected with the web geometrical support.

You can also first select a closed sketch as the boundary and then select other closed sketch(es) that cut the first one.
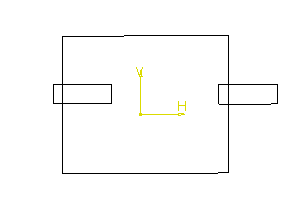
Sketch before creation of the web

Web generated after selection of the sketches
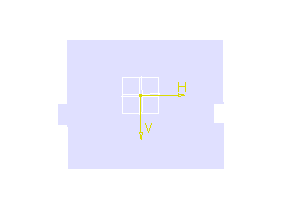
Tip: The shortest side of the cutting limits is automatically kept when the web is generated.