Getting Started with Ambience Studio | |||||
|
| ||||
-
In the Startup panel, select an ambience type.
Type Description Example HDRI (default) This ambience type is for indoor and outdoor review. 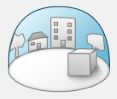
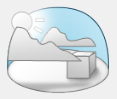
Sun & Sky Defines a sun and sky background. When you select this type, you can edit specific parameters.
Color/Gradient Defines a gradient color and separates the background in two, creating a horizon.
You can choose a top and bottom sky color, and a top and bottom ground color.
You can also modify the horizon altitude.
When you select this type, you can edit specific parameters.

-
If you select HDRI (default), click
Next to display the list of presets.
There are three types of presets.
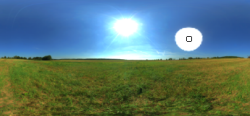
Type Description Example Exterior This ambience type is intended for outdoor review and is especially useful for realistic rendering. Objects are in an infinite outdoor landscape.
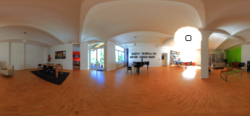
Interior This ambience type is intended for inner ambience render. Objects are in an enclosed space and light sources are blocked by walls or other similar elements in the scene.
Studio This ambience type is intended for review and lets you use mirror or neon-like effects. 
Tips: - Use the slider at the bottom of the wizard to enlarge or reduce the size of the thumbnails.
- Click Previous to go back to the previous step and choose another ambience type.
The selected ambience is applied in the
3D area.

You can then use the ambience panel, customize the parameters for the selected ambience.