-
From the Model section of the action bar,
click Stitching Bond
 .
.
- Optional:
Replace the default name Stitching Bond.n with a more
significant one.
-
Select a material.
-
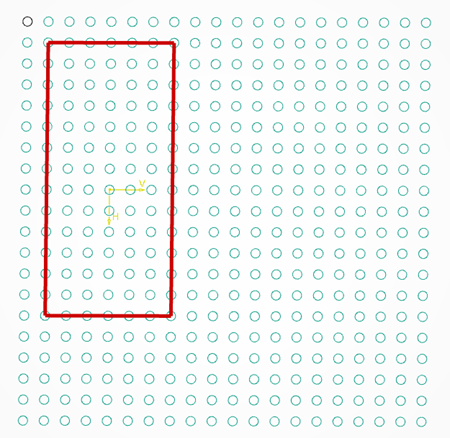
Define the Area by a profile, a sketch or a symmetry.
For more information on working with the Sketcher, see 3D Modeling Core: Sketcher.
-
Define the Geometries.
- Either create a sketch.
For more information on working with
the Sketcher, see 3D Modeling Core: Sketcher.
Note:
Click Parameters
in the tree to create parameters from the context toolbar.
- Or create a pattern from a predefined empty sketch. The geometry is aggregated
under the layer, inside a dedicated node.
For more information on
creating patterns, see Patterning.
- Or create a symmetry.
-
From the color editor, pick the color of the stitching bond.
-
Enter the type of stitching.
-
Enter the length of the stitching bond.
-
Specify the End Layer and the Start
Layer.
-
Optional: Select the Hide all except this layer
check box.
-
Press Preview to verify the proposed result.
A Stitching Bond feature is created after the
start layer. It contains
- The material properties.
- The Parameters set and the Relations Set.
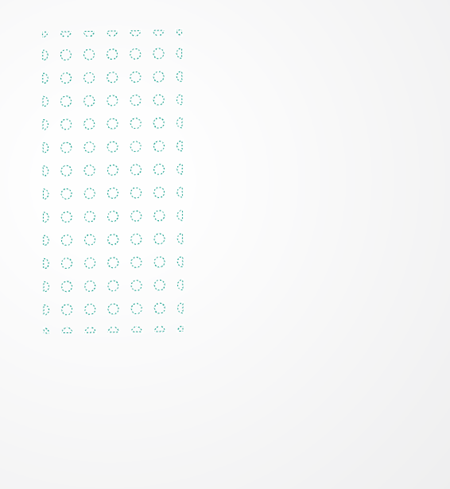
- The Pattern Geometry Set that contains the geometries of the stitching bond.
- The Area Geometry Set that contains the geometries where the stitching bond is applied.


