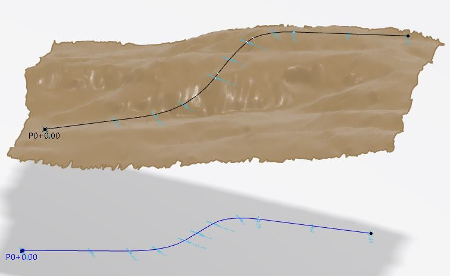
-
From the Road or Railway section of
the action bar, click 3D Alignment
 . .
-
In the tree, select an alignment.
The mandatory inputs to create the 3D alignment are automatically
filled.
-
Optional: Under Output Management, select
the objects for which you want to generate an output.
Note:
Main curves is available only if
Surface is selected.
-
Click OK.
The 3D alignment and the selected outputs are
generated.

-
To add a point on the 3D alignment, click Point on
Alignment
 from the
Wireframe and Surface section of the action bar and click the 3D alignment. For more information, see
Creating a 3D Point on a 3D Alignment. from the
Wireframe and Surface section of the action bar and click the 3D alignment. For more information, see
Creating a 3D Point on a 3D Alignment.
-
To display the stationing, click Show Alignment
Stationing
 from the
View section. from the
View section.
|