- Open any document with geometry.
- From the View section of the action bar, click Multi-View Customization....
- In the Views and Layout dialog box, select the Manual tab.
- In the Configuration Selection list, make sure
that Four-view is selected then click OK.
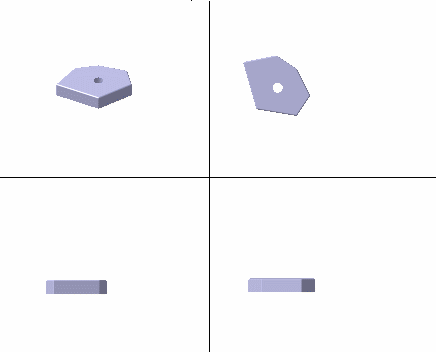
The viewer is divided into four equal views as shown below:

-
From the Tools section of the action bar, click Capture... in the secondary area.
- In the capture
commands, click the
Options
 button.
 - In the Capture Configuration
dialog box, define the parameters to be applied for capturing the image.
- Click OK to validate your parameters and close
the Capture Configuration dialog box.
- Click Capture
 .
. - In the Capture Preview dialog box, click
OK.
The image is stored in the album and the Capture Preview
dialog box is closed.
- In the capture commands, click Window area
 .
. - Click Capture
 .
. - Click in the 3D and drag to create a bounding
outline around the area to be captured then release the mouse button.
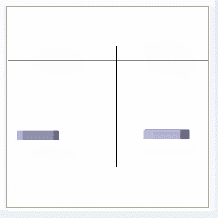
The image is displayed in the
Capture Preview dialog box:

- Click OK.
The image is stored in the album.
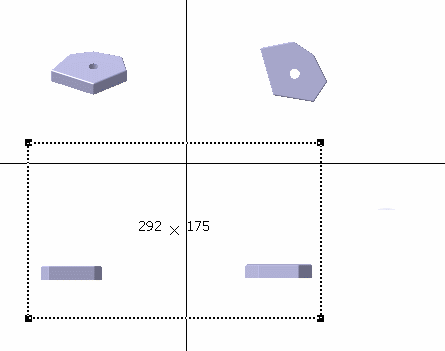
When the Capture Preview dialog box is closed, you can
see the height and width of the outline you drawn:

- From the Tools section of the action bar, click Album....
The captured images are listed in the album.