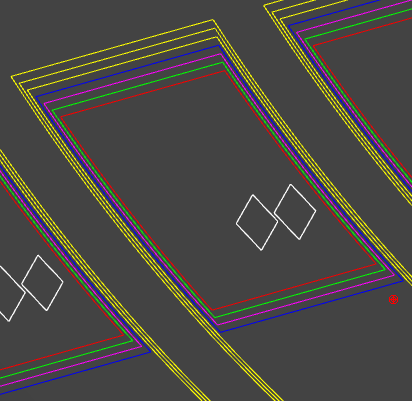
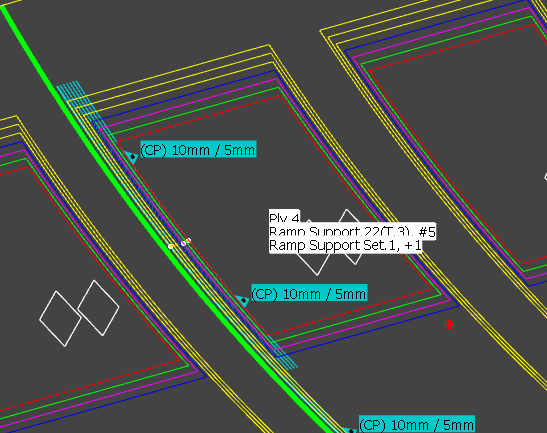
-
From the Grid Design section of the action bar, click Manage Drop-Off

- Select a ply contour or a ramp curve.
-
Select a second ply contour or ramp curve associated with the same ramp support.
- In the message that appears, select the default or sub-staggering to modify, and click OK.
The drop-off is previewed in the dialog box:
- Standard pan and zoom are available in this viewer.
- The ramp support curves available within the section limits are
displayed as vertical dotted lines.
The plies are displayed as horizontal full lines, in different
colors.
- A ply selected in the dialog box viewer is highlighted in the 3D area.
- Ply data information is displayed above the viewer.
-
In the 2D Viewer:
-
Select or clear plies using Ctrl Key, or Select All or
Select Similar Plies.
-
Click anywhere in the 2D Viewer to clear the selection.
-
Select plies using a trap.
-
Use the arrows to change the drop of curve of selected plies.
-
Select Reverse to reverse the drop off pattern of selected
plies.
-
Select the Allow Snap to Curve check box to drop all
selected plies on a selected curve.
- Modify the drop-off as required.
For example, from
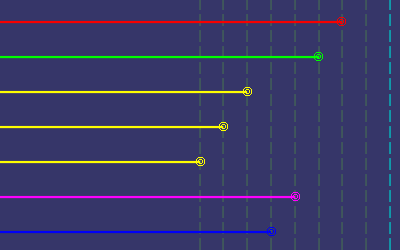
to
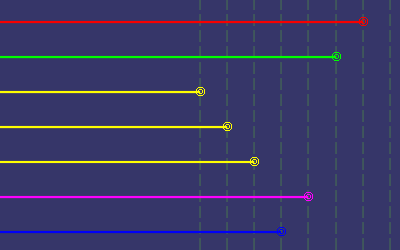
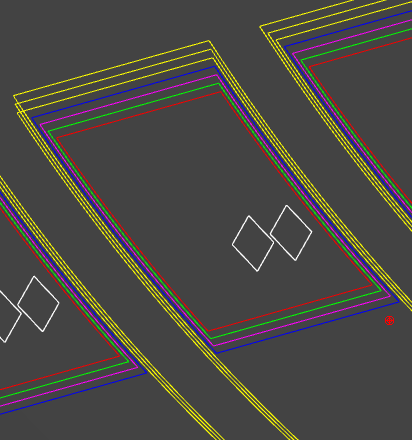
The preview in the
3D area is
updated accordingly.
-
Check the repaired contours, if any.
Drop-off changes may lead to auto-intersection contours as shown below where C1 is
replaced by C7.
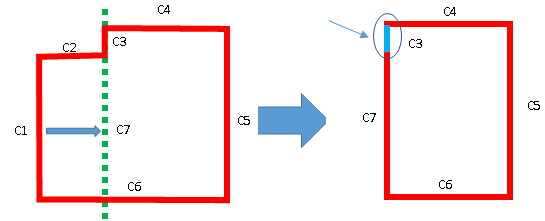
In that case,
the list of input curves is modified to repair the contour. A panel displays the list of
repaired contours.
Note:
Since the list of curves is modified, you cannot use the initial
curve to revert to the ply initial shape.
-
Select the Show Diagnostic List check box to display the
list of repaired contours.
Available only if repaired contours exist.
-
Select an entity in the diagnostic list.
Both the old and the new contour bodies are highlighted in the 3D area.
-
Run a plies generation as proposed to update data and repaired contours.
The ramp support curves, input of the plies contours, are changed, and drop-off order
information is stored on the corresponding ramp support.
Note:
Whereas it is possible for plies
generated with the Drop-off order based on layer level option,
different plies with different drop-off order, generated without the Drop-off
order based on layer level option, cannot be dropped on the same ramp curve.
