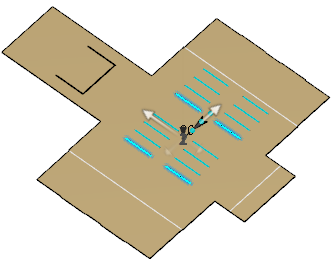
- Select the cutout as the object to pattern.
-
From the Model section of the action bar, click
Rectangular Pattern
 . .
Each tab of the Rectangular Pattern Definition dialog box is dedicated to a direction to define the location of the duplicated
feature.
- In the First Direction tab, click the Reference element box and
select the first edge
to specify the first direction.
An arrow appears on the panel.
Notes:
- To define a direction, you can select an edge or a planar face. If you
select the face of a panel, the rotation axis is normal to this face.
- You can click
Reverse to invert the rotation direction. You can
also click the arrow in the
3D area.
- In the Parameters list, select the duplication type and define the associated parameters for each type.
-
Instance(s) & Length: The spacing between instances is
automatically computed based on the number of instances and the
specified total length.
-
Instance(s) & Spacing: The total length is
automatically computed based on the number of instances and the
specified spacing value.
- Spacing & Length: The number of instances is
automatically computed to fit the other two parameters.
- Optional: In the Second Direction tab, define the same parameters as in the First Direction tab.
|
