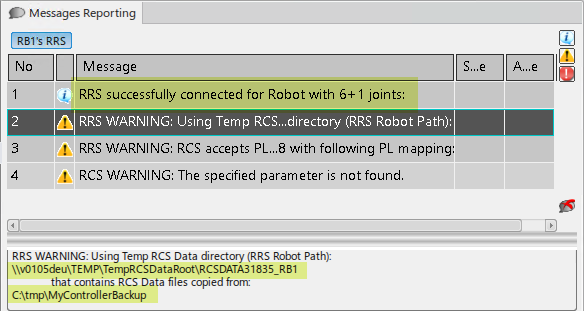
In this approach, the RCS module instance is initialized using
custom RCS data files located in the RRS server's
Robot Path folder whose names matches the
Manipulator and
Robot Number selections made in robot's
RRS Properties dialog box during RRS connection
(see table below). This can be accomplished through the following
steps.
-
Name the controller files as follows, where
Manipulator and
Robot Number correspond to the parameters
selected in the RRS connect command's
RRS Properties dialog box.
| Controller File Name
|
Renamed RCS Data File Name
|
| ALL.PRM or ALL.PRE
|
<Manipulator>_<2 digit
“Robot Number”>.PRM
|
| TOOL.CND
|
<Manipulator>_<2 digit
“Robot Number”>.TOL
|
| UFRAME.CND
|
<Manipulator>_<2 digit
“Robot Number”>.UF
|
| SPRESS.CND
|
<Manipulator>_<2 digit
“Robot Number”>.SPR
|
| SGUN.DAT
|
<Manipulator>_<2 digit
“Robot Number”>.SVG
|
-
Copy the renamed files into a new RCS data folder (that can
be more than a single level deep) under the RRS Server's
data folder.
-
Select the following in the robot's
RRS Properties dialog box during RRS
connection.
-
A
Manipulator and
Robot Number that matches those used
in the RCS data file names.
-
An RRS "Robot Path" (formed by appending
Relative Robot Path to
RCS Data Home Directory) that points
to this new RCS data folder.
For example, specifying a
RCS Data Home Directory of
../../ and a
Relative Robot Path of
YASKAWA_YRC1000/data/dataset_1 results
in a new RCS module instance initialized using the custom UP130_A00_01.* RCS
data files located in the selected RRS server's
YASKAWA_YRC1000\data\dataset_1 folder.


