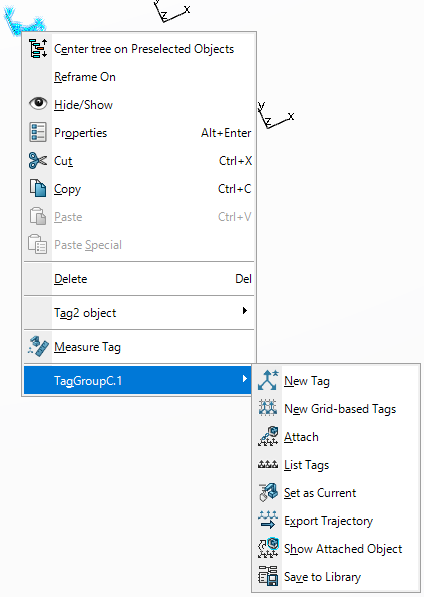
-
Click New Tag
 .
.
You are prompted to select the tag group to which the new tag will
belong.
- Select an existing tag group.
A
context toolbar appears that provides commands for defining the location of the new tag. See
New Tag Context Toolbar - From the context toolbar, select the appropriate plane definition for
the tag you want to add.
The selected plane orientation of the tag appears on the 3D
geometry.
- Once you have correctly positioned the tag, click OK
 to lock its position and create the tag.
A new tag appears in the work area at
the specified location.
-
Optional: Repeat the previous step to create any additional new tags in the
selected tag group.
-
Click New Tag
 again to exit the command.
The new tag appears on the geometry in the work area and in
the selected tag group.

 to lock its position and create the tag.