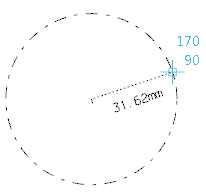
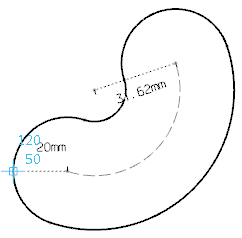
Following pre-defined sketch commands support display of dimension values, which are displayed only during the creation phase of the sketch:
- Length values:
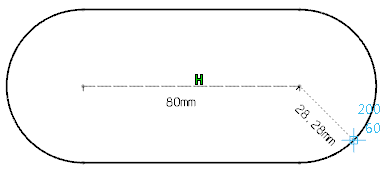
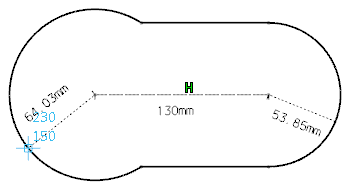
- Elongated Hole
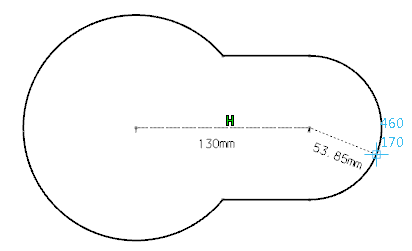
- Keyhole Profile
| First Radius | Second Radius |
|---|
|
|
Note:
If an implicit line is defined by two centers of the profile, the length value remains visible till the end of the command.
- Oriented Rectangle
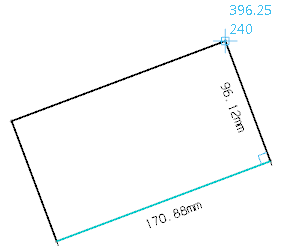
- Parallelogram

- Centered Rectangle
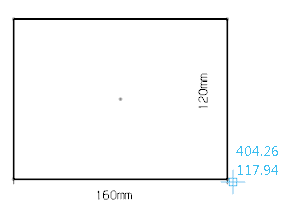
- Centered Parallelogram

- Hexagon.

Note:
For Hexagons, half-length value appears for the size of hexagon.
- Radius values:
- Elongated Hole
- Cylindrical Elongated Hole

- Keyhole Profile

- Hexagon.
Notes:
- Radius value appears only when defining the radius of a circle, including the major and minor radii.
- For Hexagons, radius value of implicit circle appears.
- Relative angle values: Parallelogram
Note:
For Parallelograms, angle value appears between both sides of a parallelogram.


 Note: If an implicit line is defined by two centers of the profile, the length value remains visible till the end of the command.


 Note: For Hexagons, half-length value appears for the size of hexagon.